

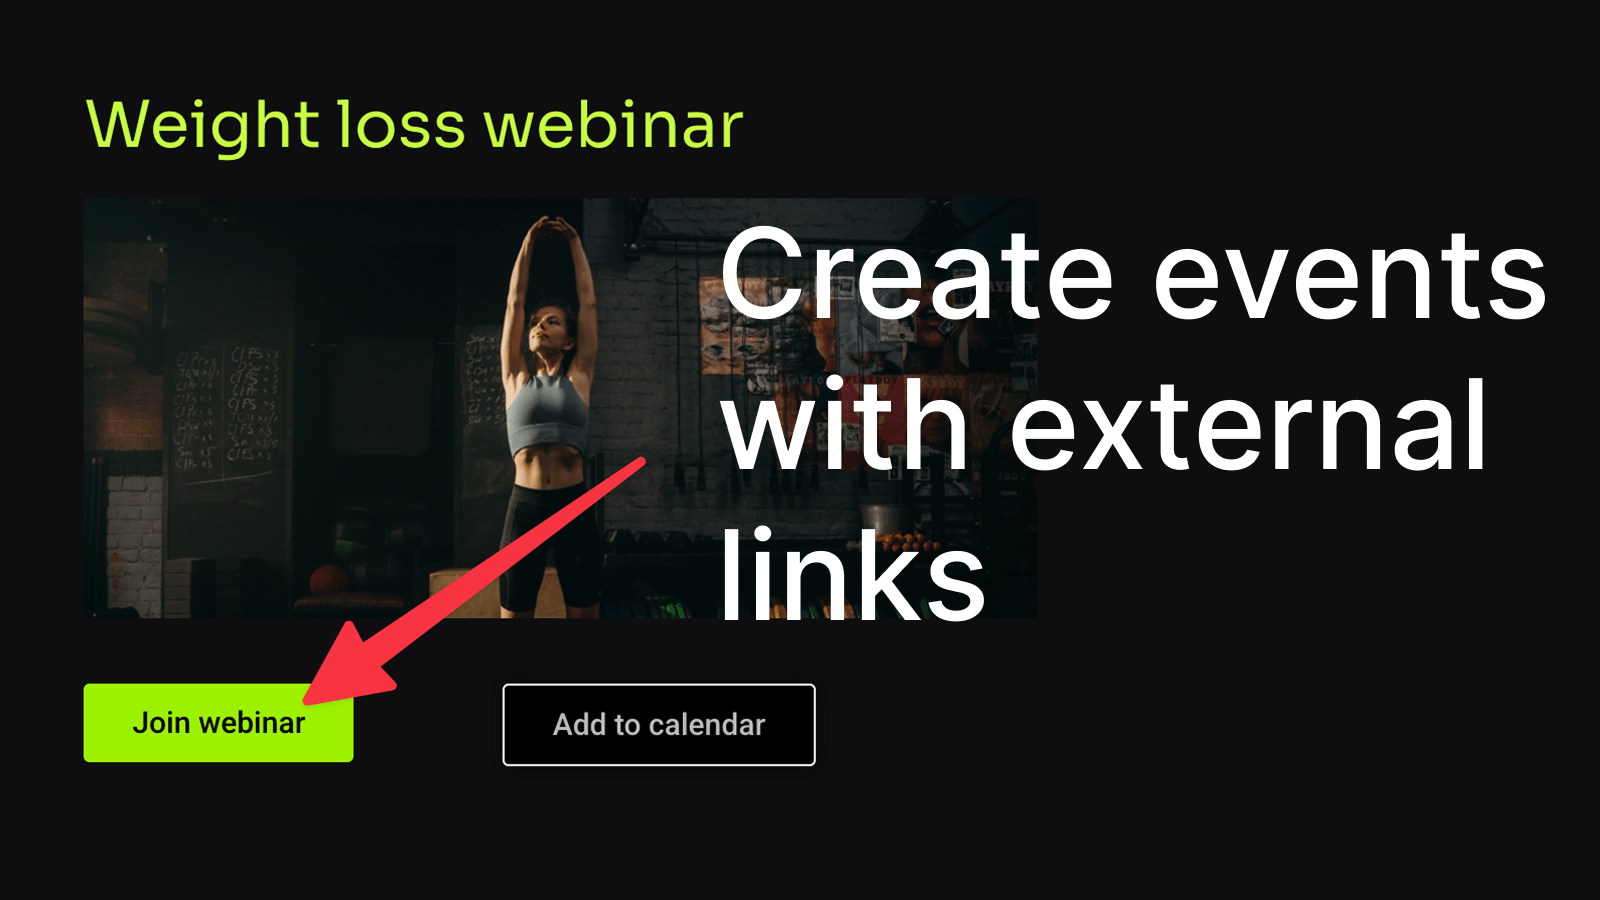
Here’s a slick way to combine EventKoi and Elementor: a webinar series that updates itself automatically. Each event gets its own “Join Webinar” button pointing to a custom URL set directly on the event. Add a new webinar in EventKoi, and it appears on the Elementor page automatically, correct link included, with no manual page or button edits needed.
Here’s how to build it using EventKoi custom fields, shortcodes, Elementor’s Loop Grid, and dynamic tags. The same setup also works for any event list that needs an external link: payment pages, registration forms, ticketing platforms, livestreams, or replays.
Step 1: Create a custom field for the webinar link
EventKoi doesn’t give you a place to add custom links out of the box, so the first step is adding one by using custom fields.
With custom fields, you can add and manage any additional data to your events, such as external links, speakers, dress codes and more.
Here’s how to add a custom field for the webinar link:
- Go to Settings → Custom Fields
- Create a new field called Webinar Link
- Set the type to URL
- Note the Field ID. You’ll need it for the shortcode in Step 4
- Leave grouping and global settings on their defaults

Everything else in this build depends on this field, so it’s worth getting right before moving on.
Step 2: Set up the webinar event
Create the event as usual, with two adjustments:
- Set the location to Online
- Assign it to a dedicated calendar (e.g. “Gym Webinars”) instead of your default calendar
The dedicated calendar isn’t a “real” calendar so much as a filter tag. It’s what lets the page in Step 3 know which events belong on it.
Then:
- Add an image and description
- Paste the actual join link into the Webinar Link custom field
- Publish

The individual event page this creates isn’t the important part. The webinar hub page you build next is where people will actually land.
Step 3: Build the webinar hub page
Create a page, add an Elementor Loop Grid, and configure it to pull in your events:
- Template type: Posts
- Source: Events
- Include by term: your dedicated calendar (e.g. search “gym” and select the Gym Webinars calendar)

This filter keeps every other event on your site (regular events, ticketed events, etc.) off this page.
Under EventKoi Query, choose the timing logic:
- Upcoming only: the standard choice for a live webinar page
- Past events: useful for a separate “watch past webinars” page linking out to recordings on YouTube

Step 4: Design the loop item template
This is the card design that repeats for every webinar. Build it once:

| Element | Source |
|---|---|
| Event title | Dynamic tag → Event Title |
| Event image | Dynamic tag → Event Image |
| Date & time | Dynamic tag → Event Date/Time |
| Description | Dynamic tag → Event Details |
| “Join Webinar” button | Shortcode → your custom Webinar Link field |
| “Add to Calendar” button | #addcal |
By the way, we have dozens of dynamic tags that you can add to your Elementor pages ranging from location data, time and date data, and even RSVP and tickets data.
Adding your custom field via shortcode
The join button needs a shortcode, not a dynamic tag. Dynamic tags only pull from EventKoi’s built-in data, and the webinar link lives in your custom field instead.
Where to find your shortcode to your custom field? Head to Settings > Custom fields, then copy the ID to your webinar link custom field.
The short code will then be: [eventkoi_data=YOUR CUSTOM FIELD ID]
So in our case it will be: [eventkoi_data=event_field_webinarlink]

Next, create your button.
Then, set the button’s link using a dynamic tag. And select Shortcode.
Then insert the shortcode referencing your Webinar Link field ID.


Adding the “Add to calendar” snippet
The calendar button needs no custom setup. Typing #add-to-cal directly as the link renders EventKoi’s full add-to-calendar dropdown (Google, iCal, Apple) automatically, per event.

The result
Once published, the page shows every upcoming webinar assigned to that calendar, with the correct image, date, description, join link, and calendar button, all without any manual page-building. Add a new webinar, assign it to the same calendar, fill in the custom field, and it appears automatically.
Why this pattern is worth reusing
This isn’t specific to webinars. It’s a general pattern for any filtered, auto-updating event hub in Elementor:
- A custom field for whatever data EventKoi doesn’t track natively (a link, a price, a note)
- A dedicated calendar used purely as a filter tag
- A loop grid + loop item template combining dynamic tags with a shortcode for the custom field data
#addcalfor calendar buttons, with no extra setup
Swap “webinar link” for a course platform login, a members-only livestream URL, or a Zoom room, and the same build applies.