
This guide explains how to add and customise the EventKoi Event element in Bricks Builder. You’ll learn how to display event data, choose which fields appear, and control their styling.
How to add the EventKoi Event element in Bricks
- Click the “+” button to add an element or component
- In the search bar, type in “Event”.
- Drag and drop the Event element into the builder.

Customising the EventKoi Event element
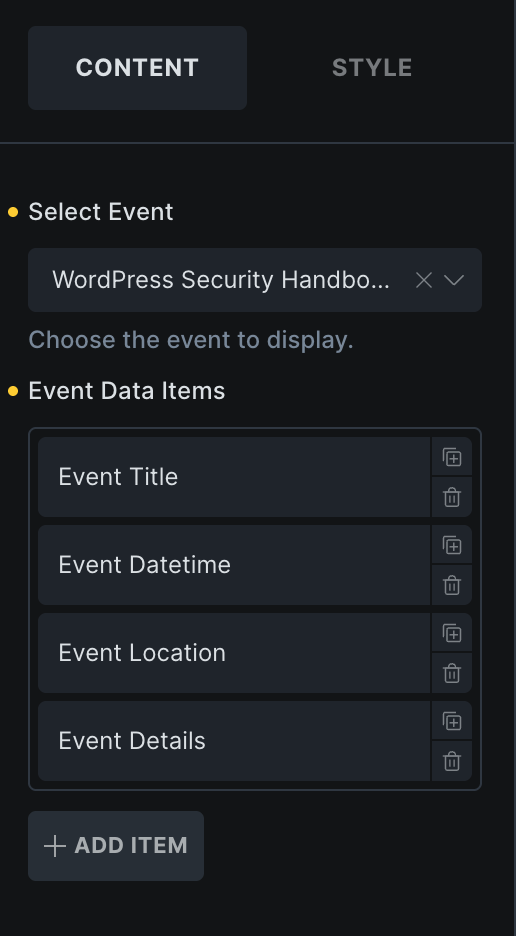
- Begin by selecting the event you want to display.
- Then select which data fields you want to display. There are over 14 fields to choose from. You can also choose the order in which to display fields.
Field formatting in the Content tab
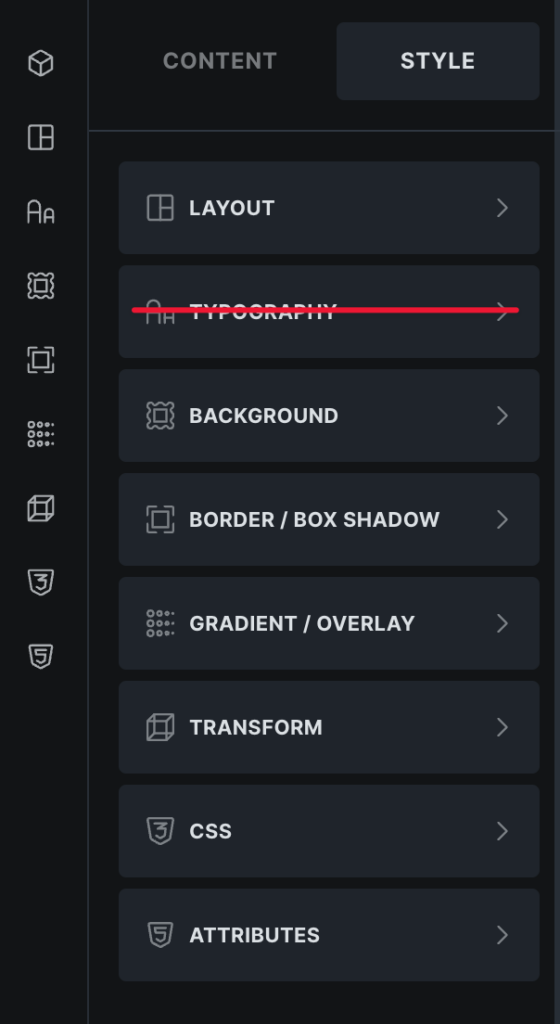
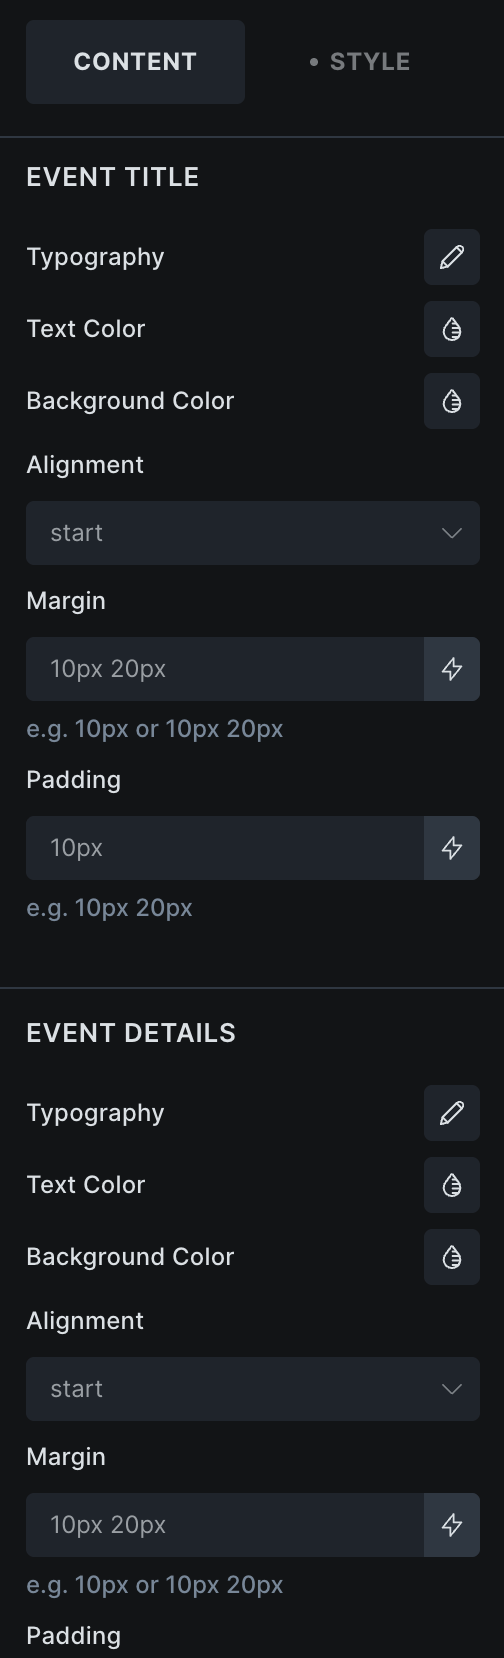
Something important to note is that the Typography section in the Style tab doesn’t work as there is no option to change the typography for all the fields at once. Instead, you should do the style formatting for individual fields in the Content tab (see below).
After you have selected which event to display and the fields you want to display. Scroll down to see typography, text colour, background colour, alignment, margin, and padding options for all the fields. You can style each field separately here.
Style tab options
In the style tab, you have global options to style the whole event container. This includes Layout, Background, Border, and more.

Get more from your EventKoi + Bricks integration
There are multiple ways of integrating EventKoi with Bricks. From custom-built elements to advanced dynamic event data, you can control how events appear across your site using Bricks Builder canvas.
To learn about all the available approaches and ensure you choose to right path, read our EventKoi + Bricks Builder integration overview: