
The EventKoi Calendar Widget lets you add a fully interactive EventKoi calendar to any Elementor page or post.
With simple drag-and-drop setup, you can choose which calendar to display, set default views (month or week), and style the calendar through Elementor’s Content, Style, and Advanced tabs. This guide walks you through adding and customising the widget in Elementor.
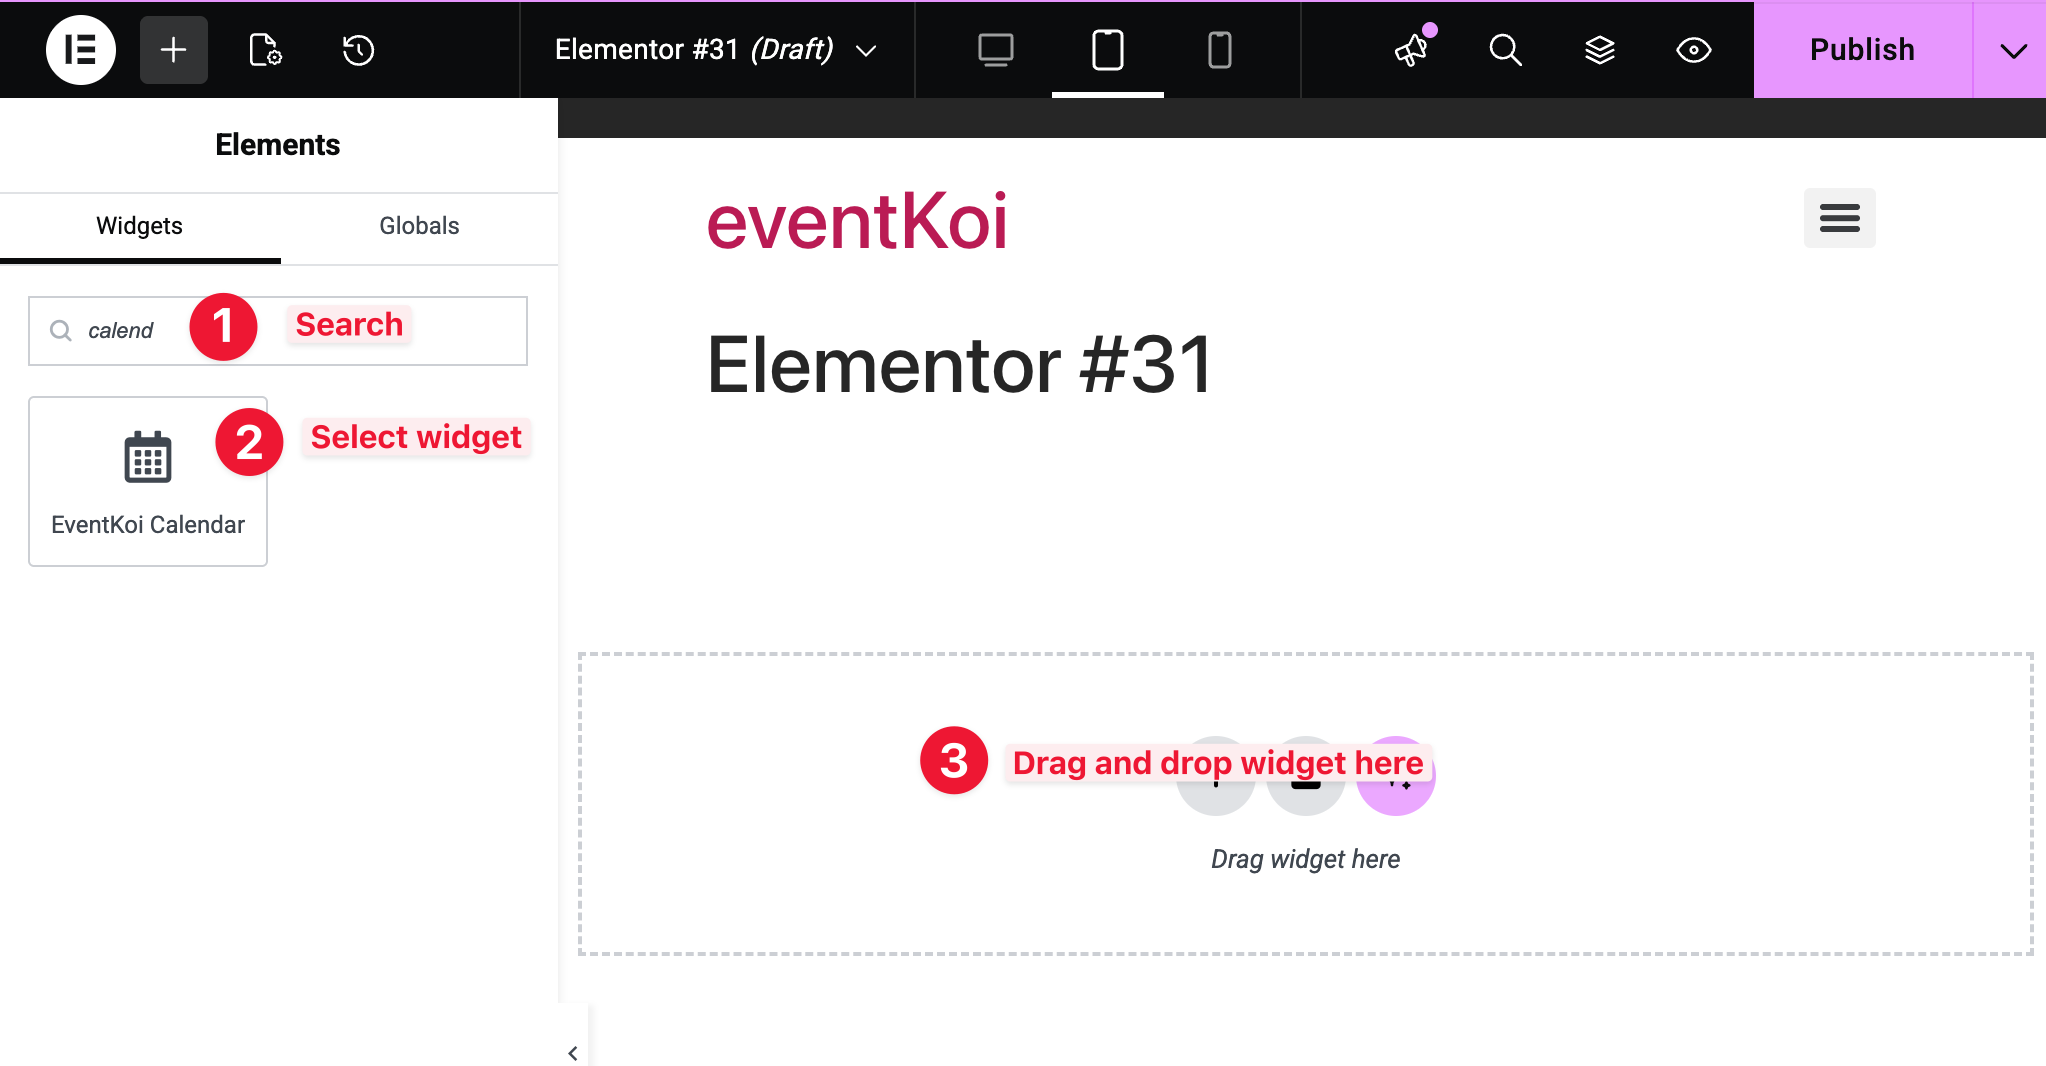
How to add the EventKoi Calendar widget in Elementor
- Search “EventKoi” or “Calendar” to find the EventKoi Calendar widget
- Select widget from the left-hand panel
- Drag and drop widget into the main canvas.
Customising the EventKoi Calendar widget

Once you’ve added the widget into the canvas, you’ll see several Content, Style, and Advanced options.
Content tab
Here you’ll see all the available Calendar Options.
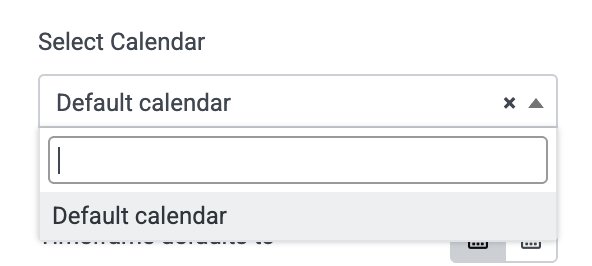
Select calendar
First, you have to select which calendar you want to display on your site.
If you’re using EventKoi Lite, you are only able to create one calendar. By default, this calendar is called, Default calendar.
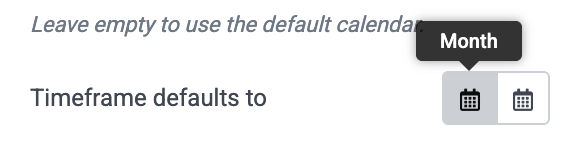
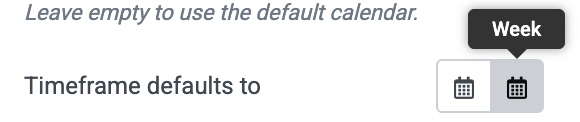
Month or week view
Next, decide if you want to display Month or Week view by default.
Note, EventKoi also gives site visitors the option to toggle between month and week view on the frontend as well. This does not limit the view to month or week, instead, it lets you decide what shows up by default.
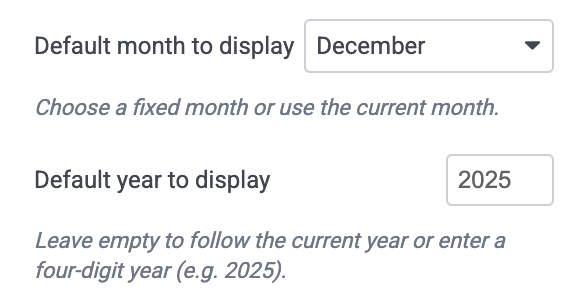
Default month and year
After that, you can select the default month and year to display.
Example use case: You run a Winter holiday program, so no matter what month it currently is, you always want your calendar to default to display December. However, you don’t want to fix a year because you want your calendar to always display the current year.
In that case, you should select:
Default month to display: December
Default year to display: Leave it blank
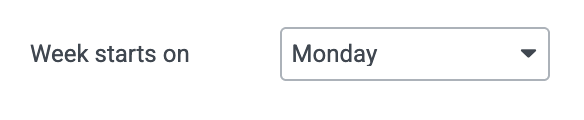
Week starts on
Finally, you can select which day of the week your week starts on. This determines what is displayed in the first column of the week view. For some parts of the world, that might be Sunday. For others, it’s Monday.
Style tab
Here you’re able to customise the typography and colours of the calendar.

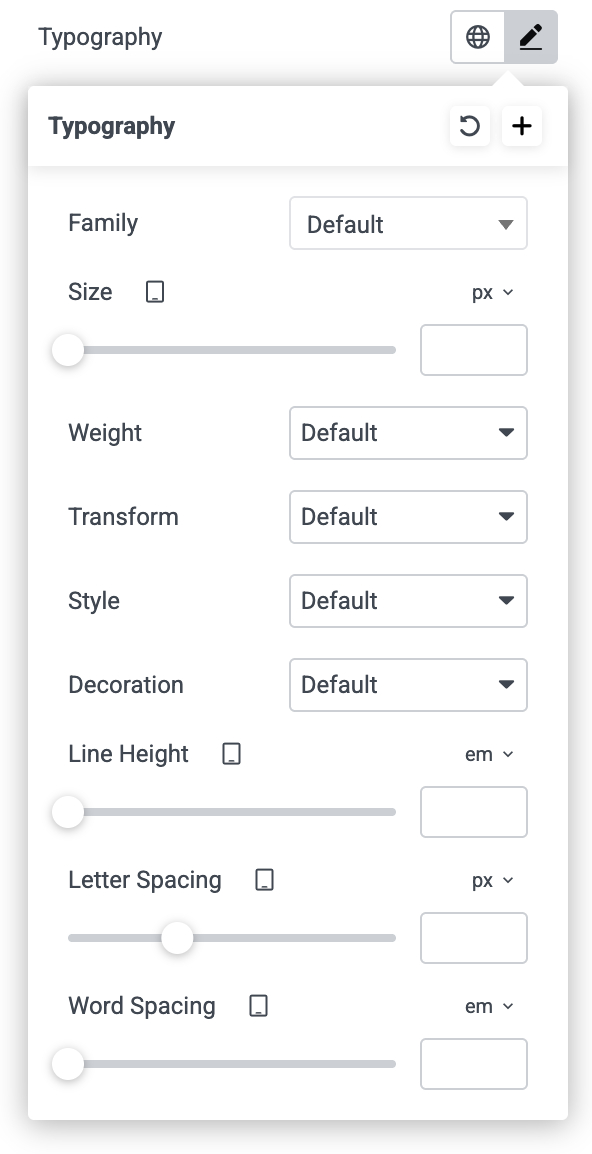
Typography
Here you can select from Font, size, weight, spacing and more.
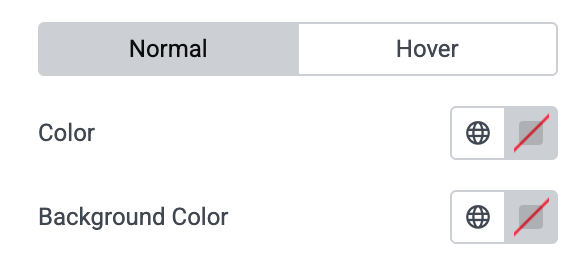
Colour
You can select colours for normal or hover colours.
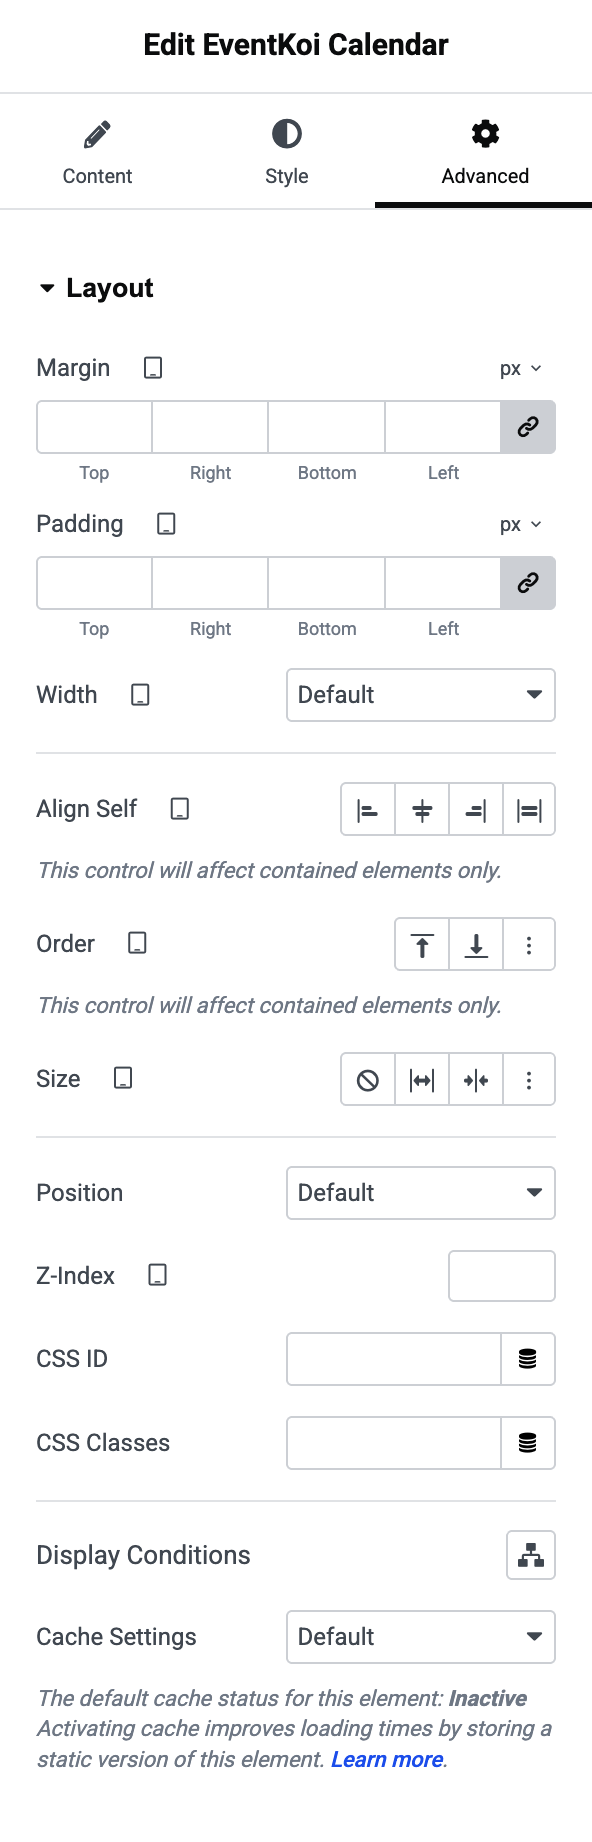
Advanced tab
Finally, in the Advanced tab, you will see a variety of Layout options. These are standard in Elementor widgets.
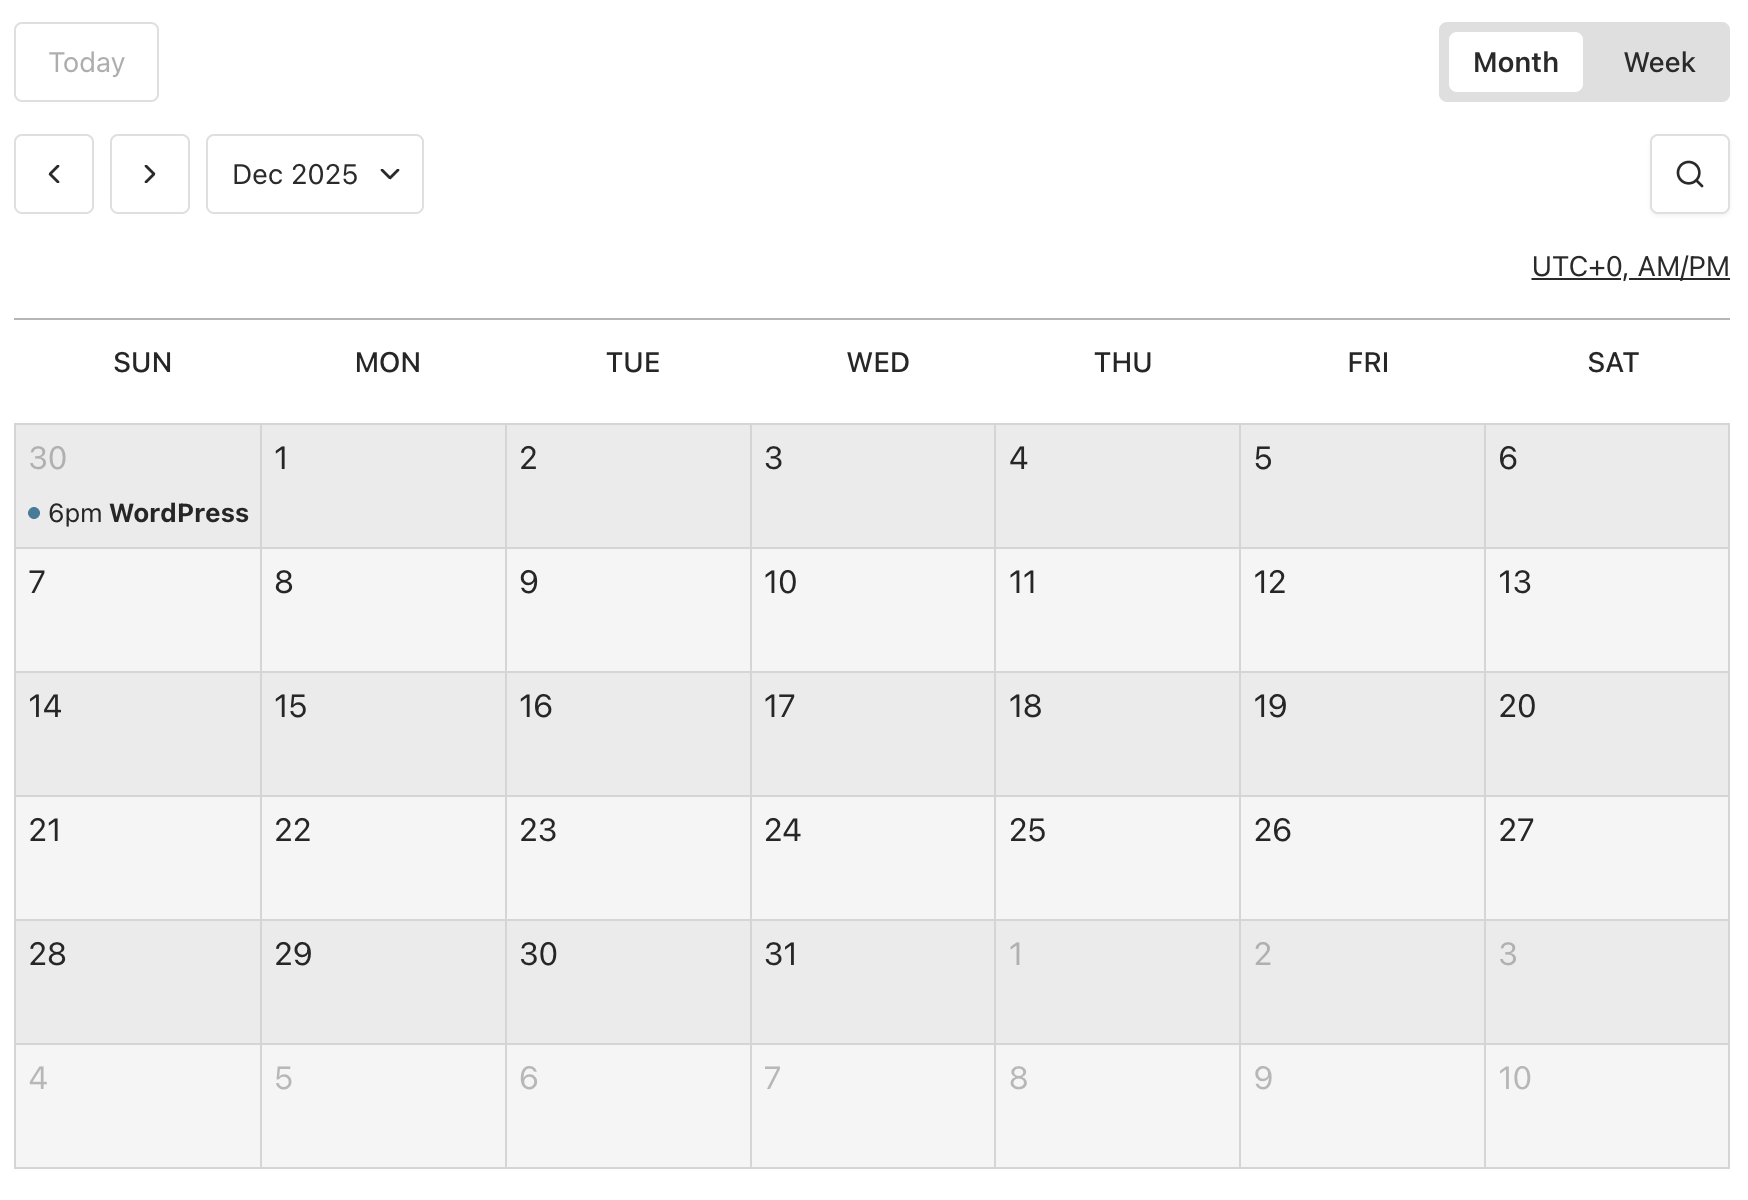
Preview your calendar
- Once you have Published your page or Save Draft,
- You can Preview it by clicking the eye icon.

Depending on the settings you have made, you’ll see the changes reflected in your preview.
Get more from your EventKoi + Elementor integration
There are multiple ways of integrating EventKoi with Elementor. From custom-built widgets to advanced dynamic event data, you can control how events appear across your site using Elementor’s editor.
To learn about all the available approaches and ensure you choose to right path, read our EventKoi + Elementor integration overview: