
Unlock full design control over your event pages by creating a custom Elementor template that automatically displays EventKoi event data. In this guide, we walk you through each step: from building a beautiful template with dynamic tags, to setting display conditions, and finally assigning your template to your events in EventKoi. No coding required, just Elementor Pro and EventKoi Pro.
Begin by creating a single post/page template in Elementor
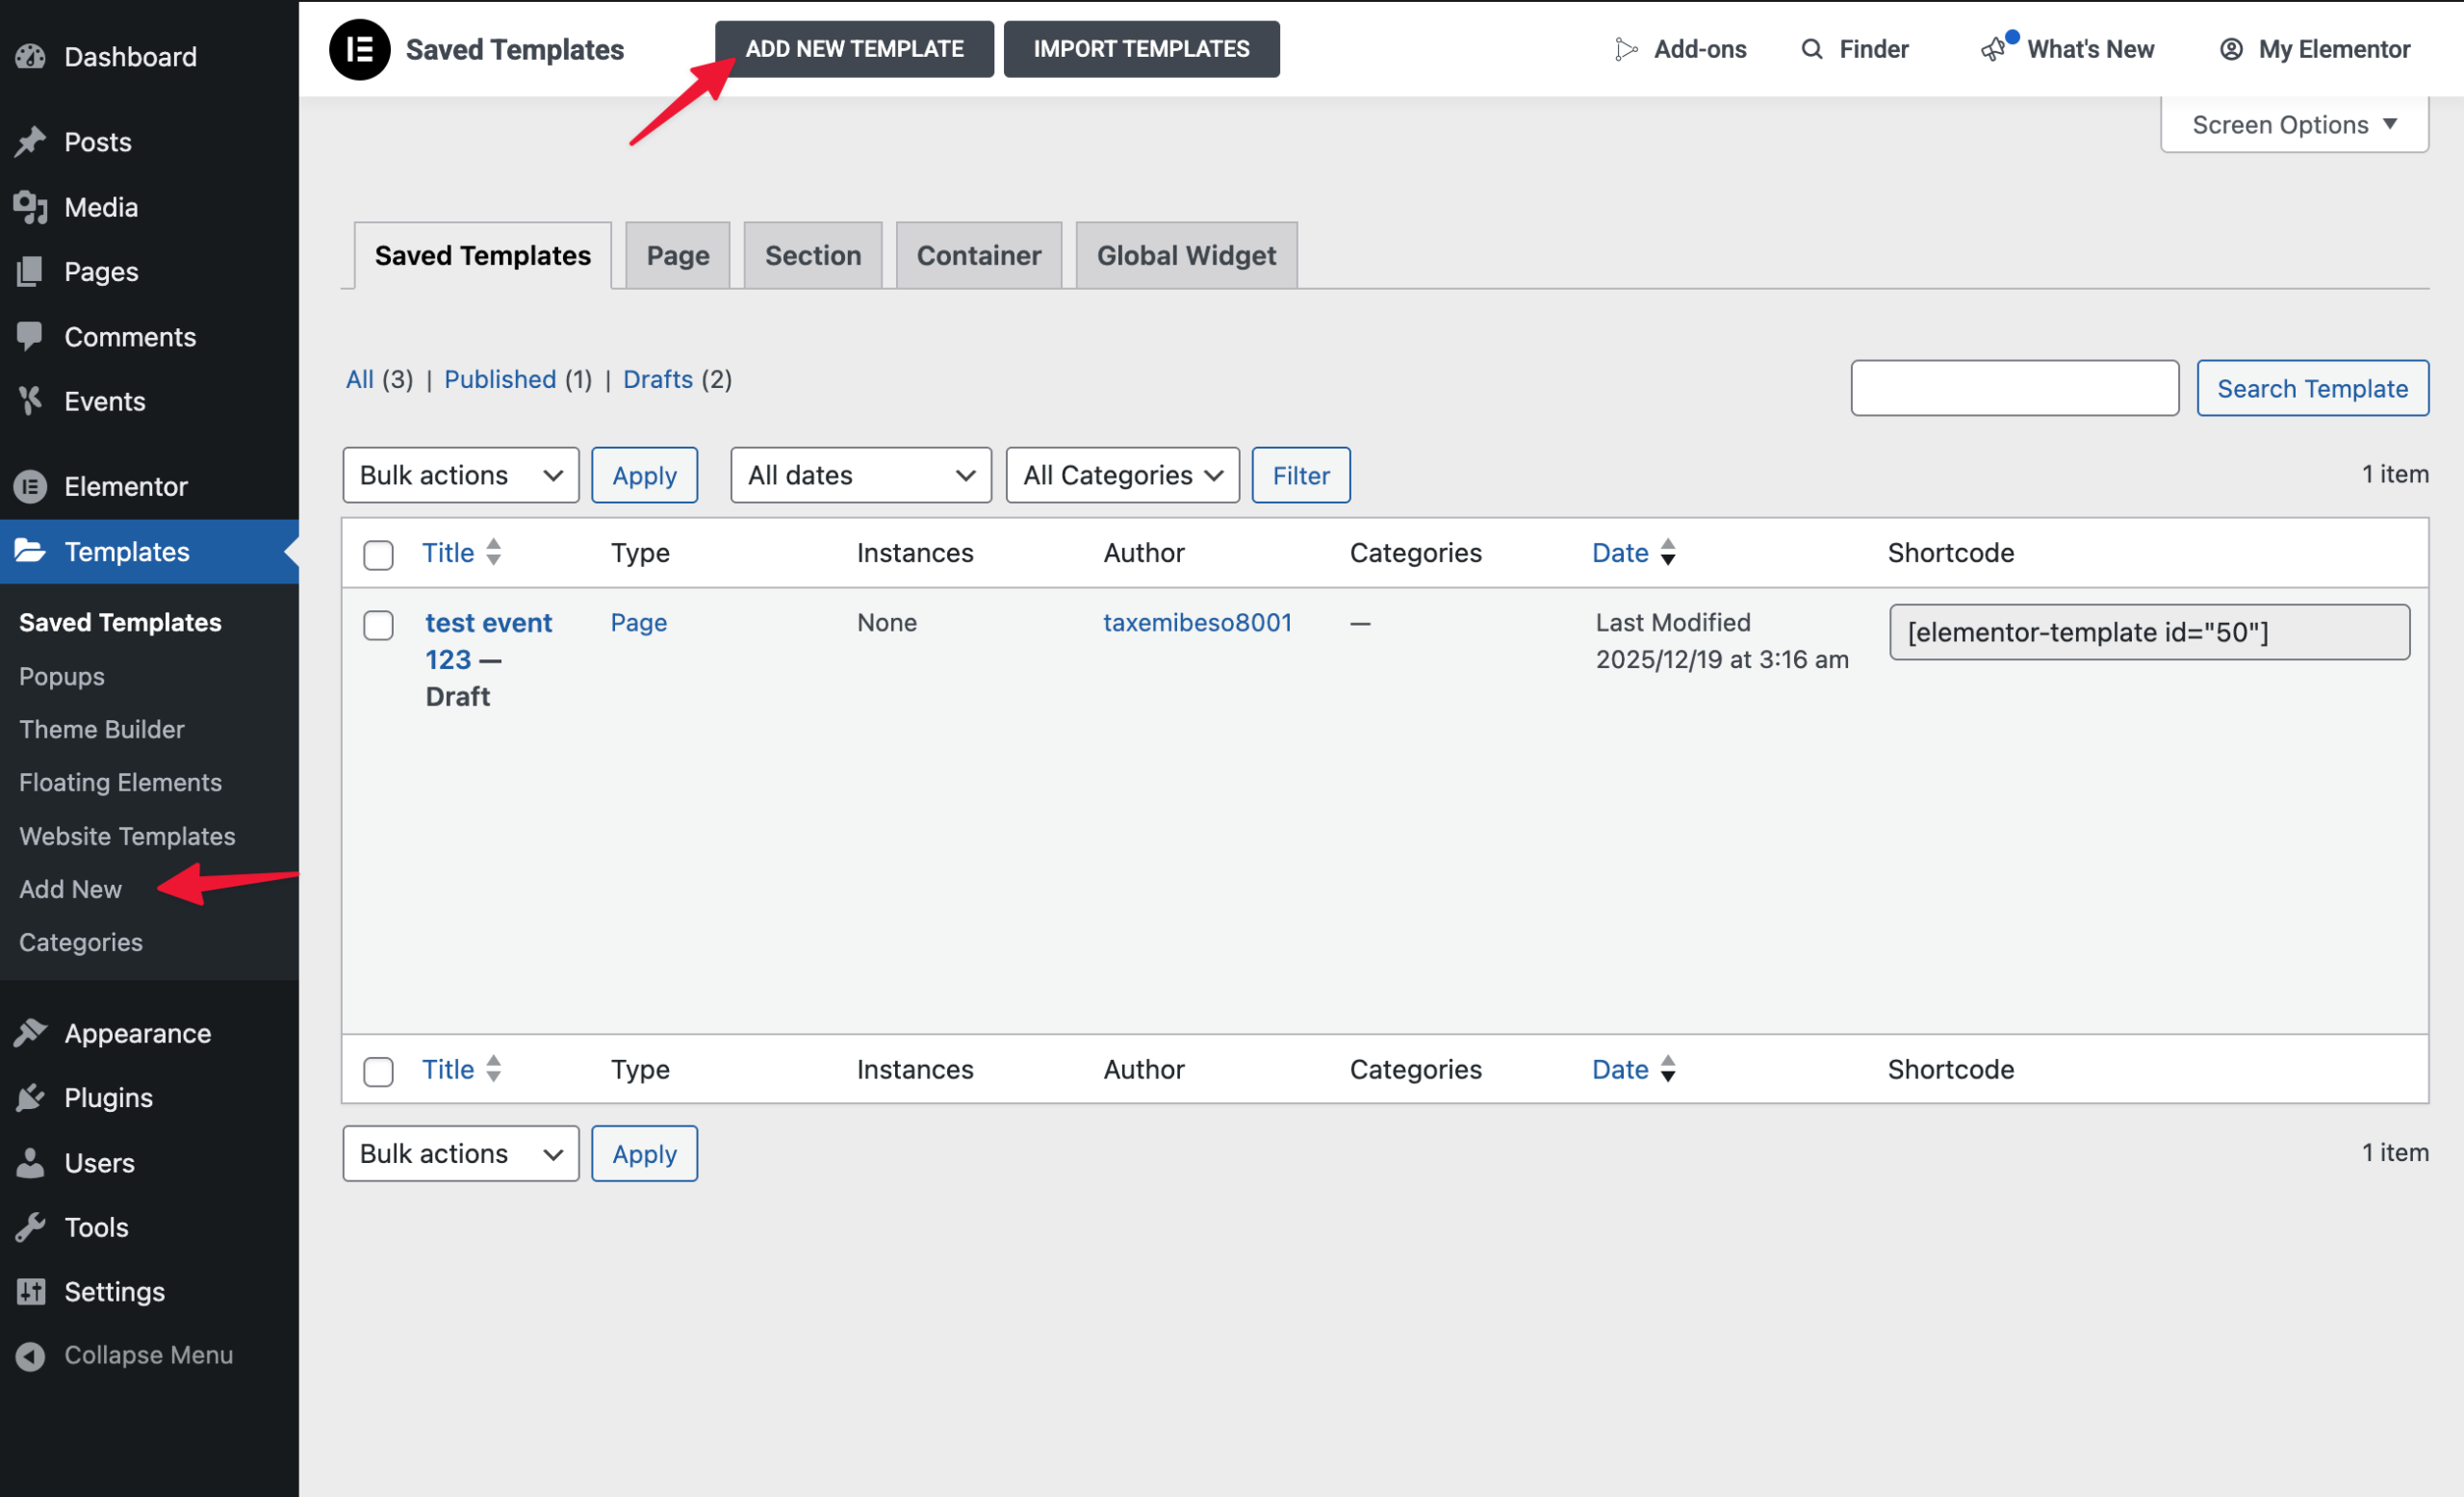
In the lefthand admin panel, underneath Elementor, click on Templates. Then click on Add New in the submenu, or Add New template at the top menu bar.
Next, in the modal, select Single Page, give your template a name, then click on the Create Template button.

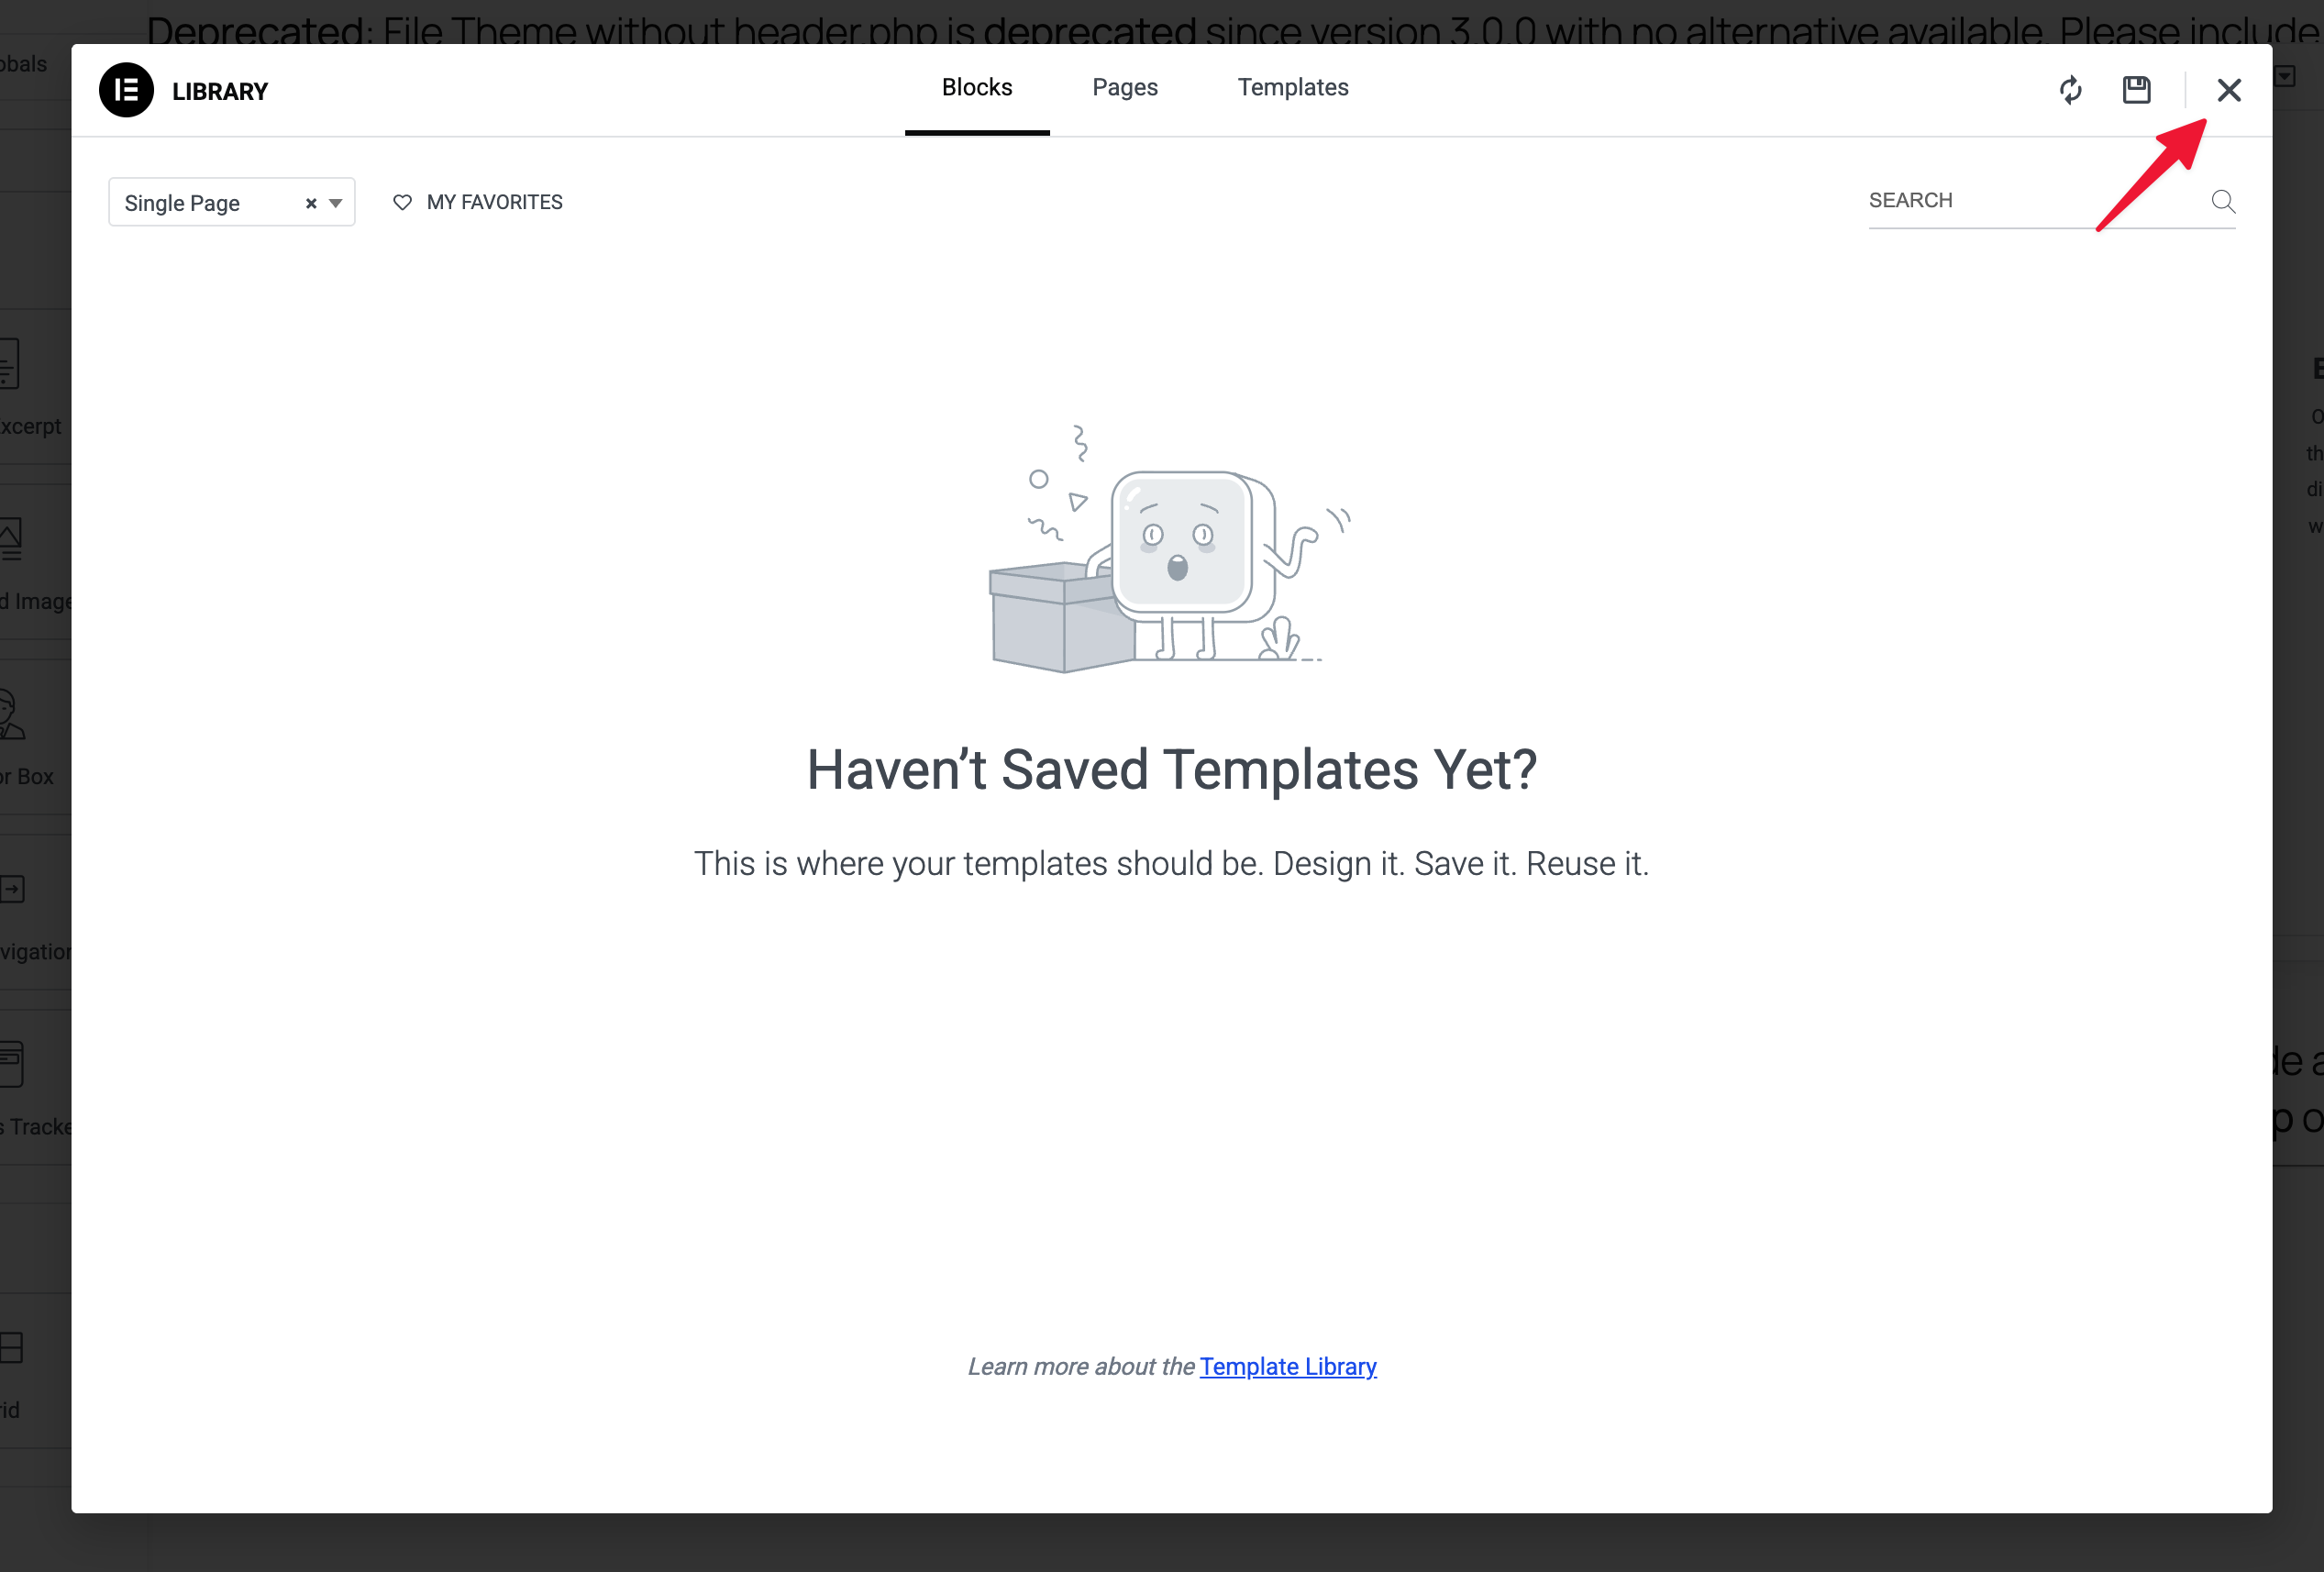
Inside the template builder, you’ll be presented with the Elementor Library modal. Here you can select any existing templates if you want, or close this modal if you want to build your own from scratch.
Design your events template and add dynamic tags
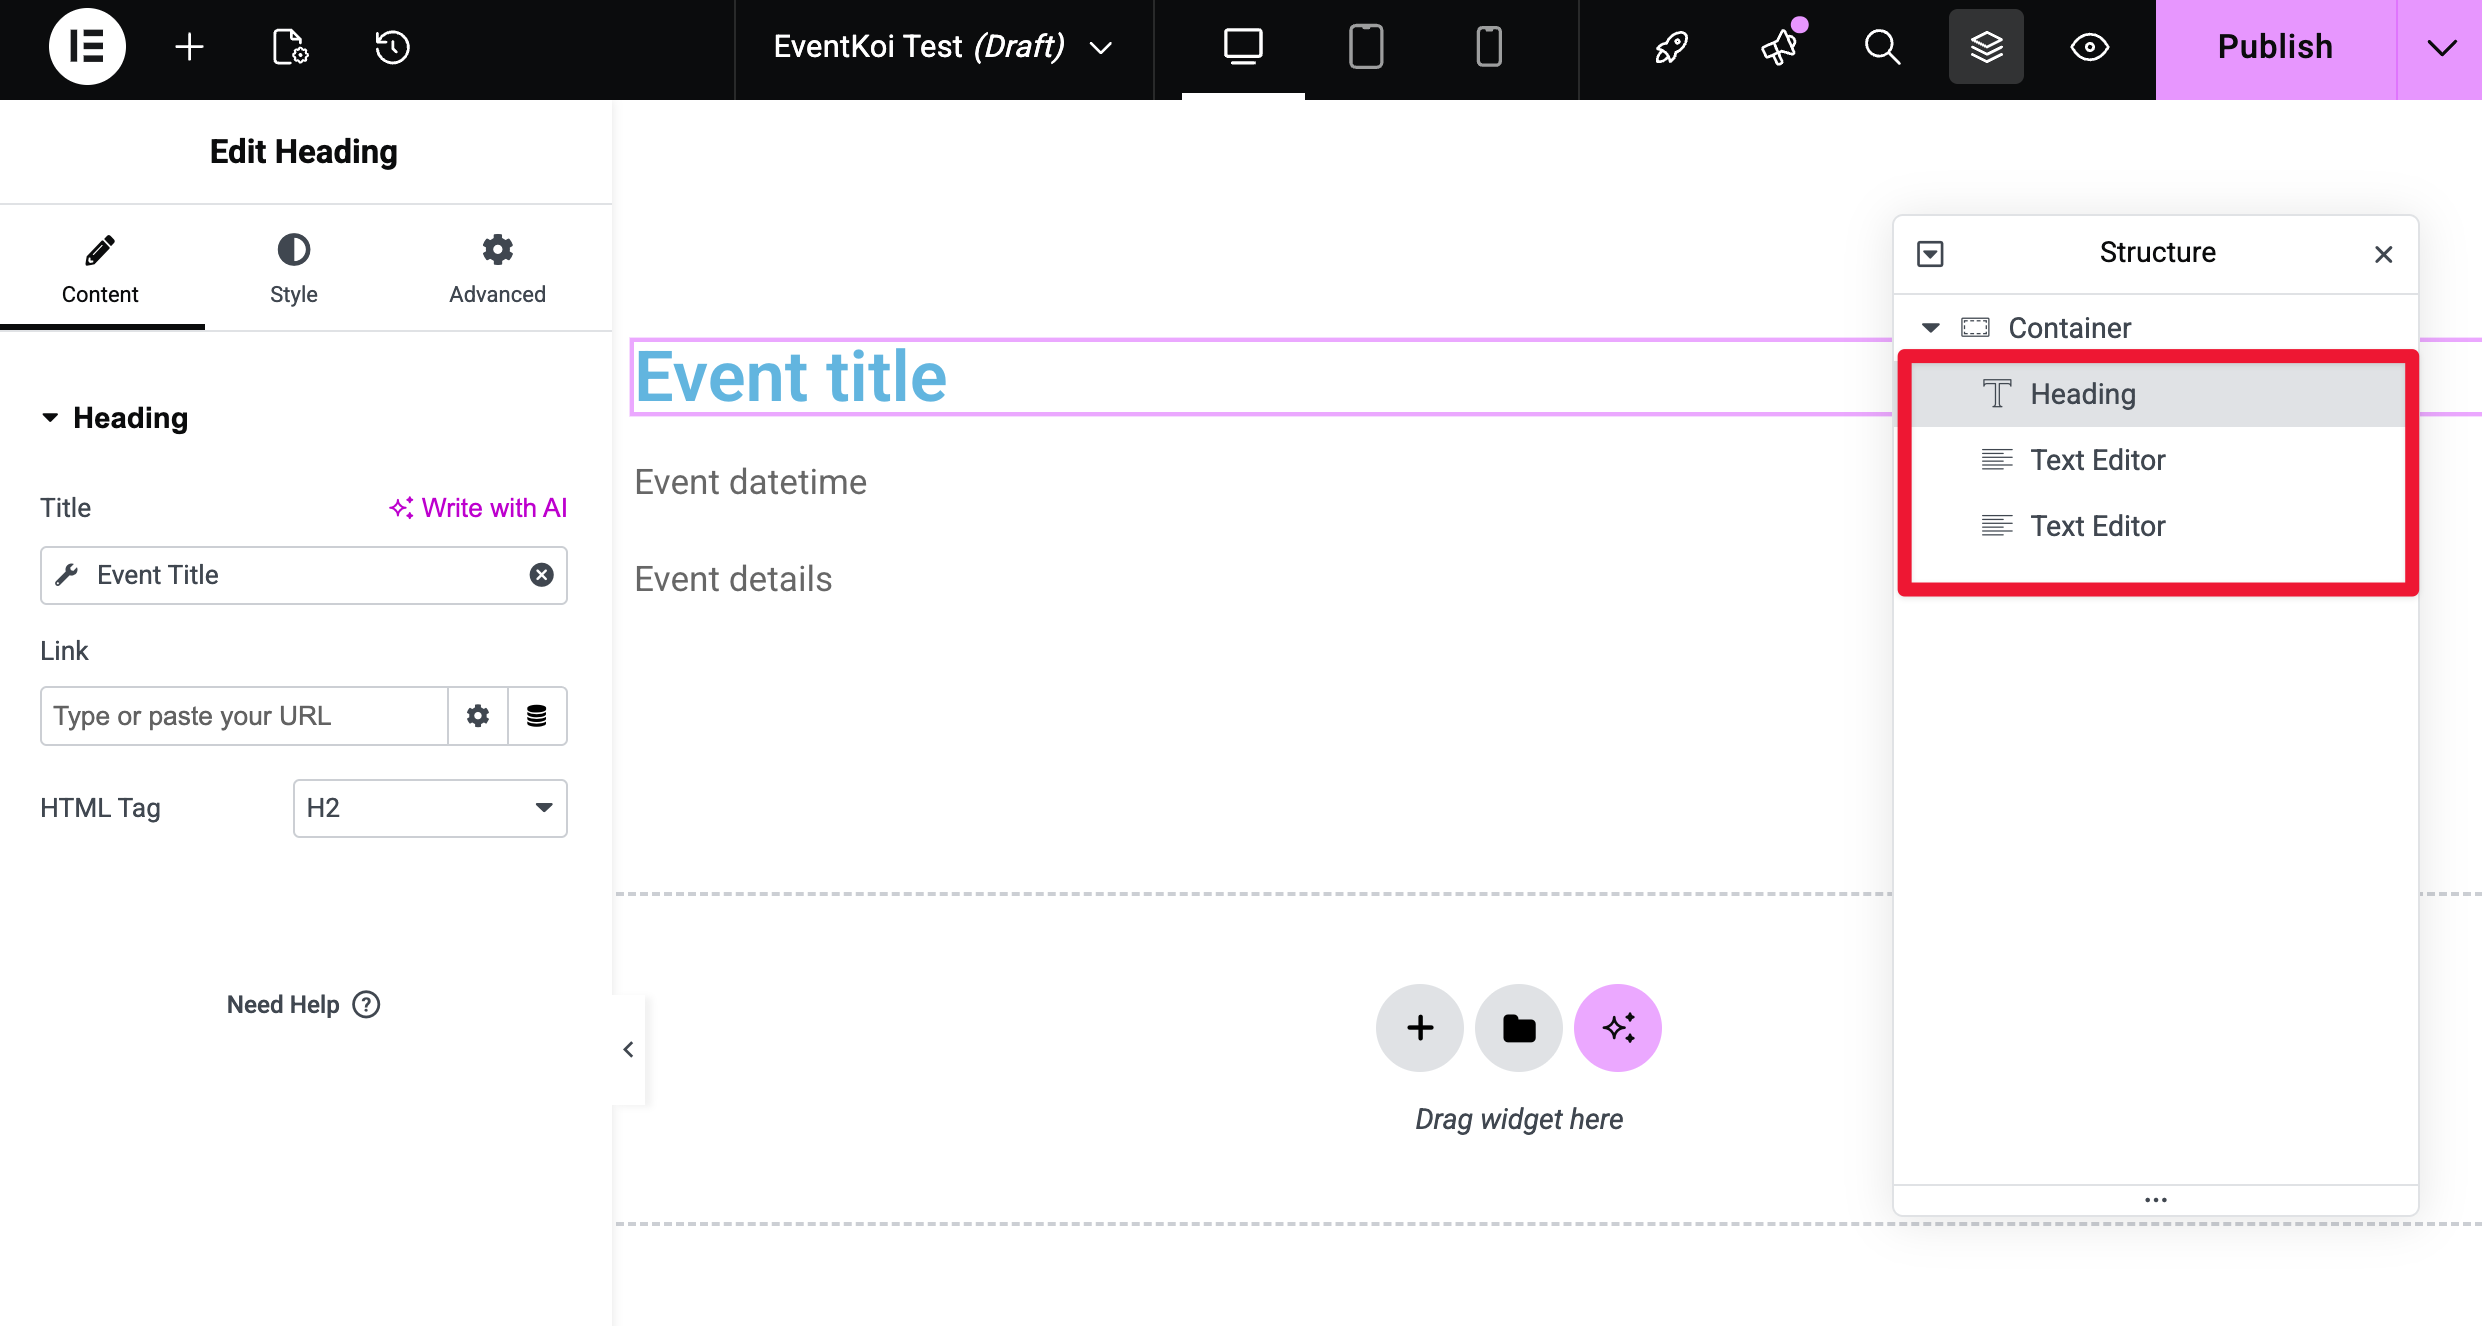
Inside the Elementor template builder, I’ve add a Heading widget and two Text Editor widgets. Using dynamic tags, I’ve linked the Heading to Event Title, and the first Text Editor to Event datetime and the second to Event details.
This means that every time an event is created, this template will automatically display the event title, date and time, and event details. EventKoi comes with 14 different dynamic tags, so you can add as much or as little event data as you want.
Dynamic tags are an important part of creating event templates. To learn more, read our doc on dynamic event tags:
Select display conditions
When you are done building your event template, it’s time to use it.
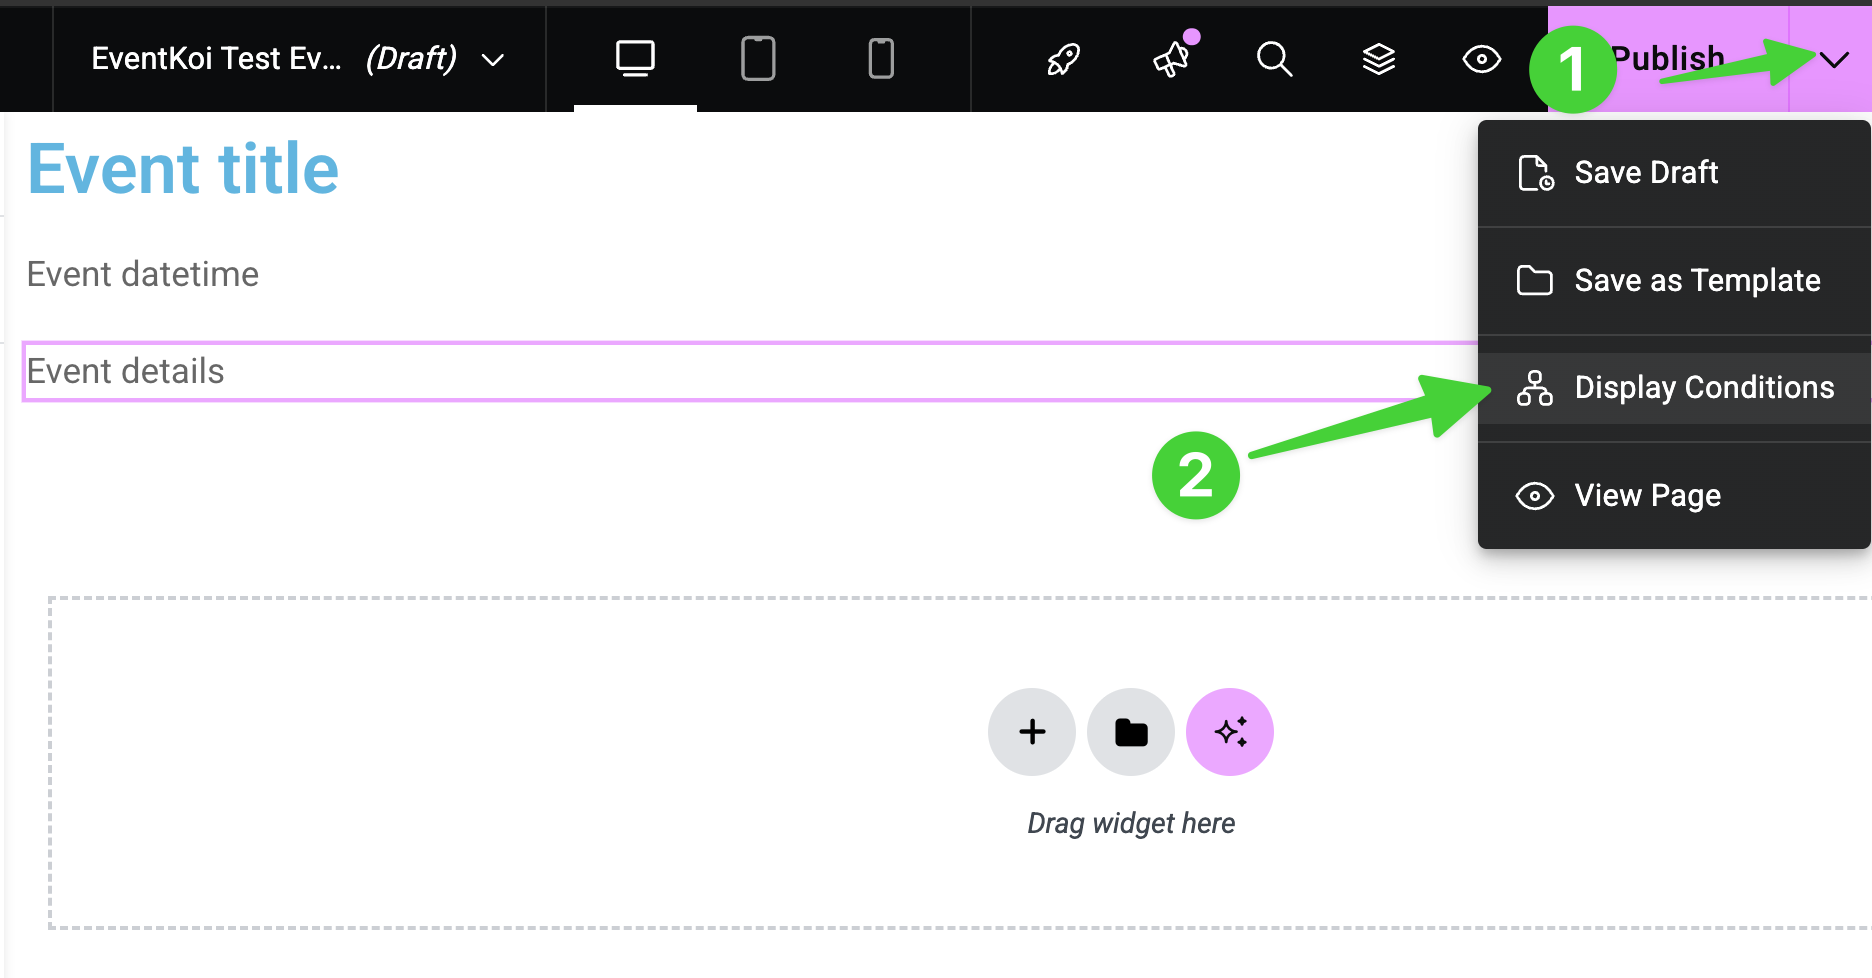
- The first step is to click on the dropdown next to the Publish button on the top right hand corner.
- Then click on Display Conditions.
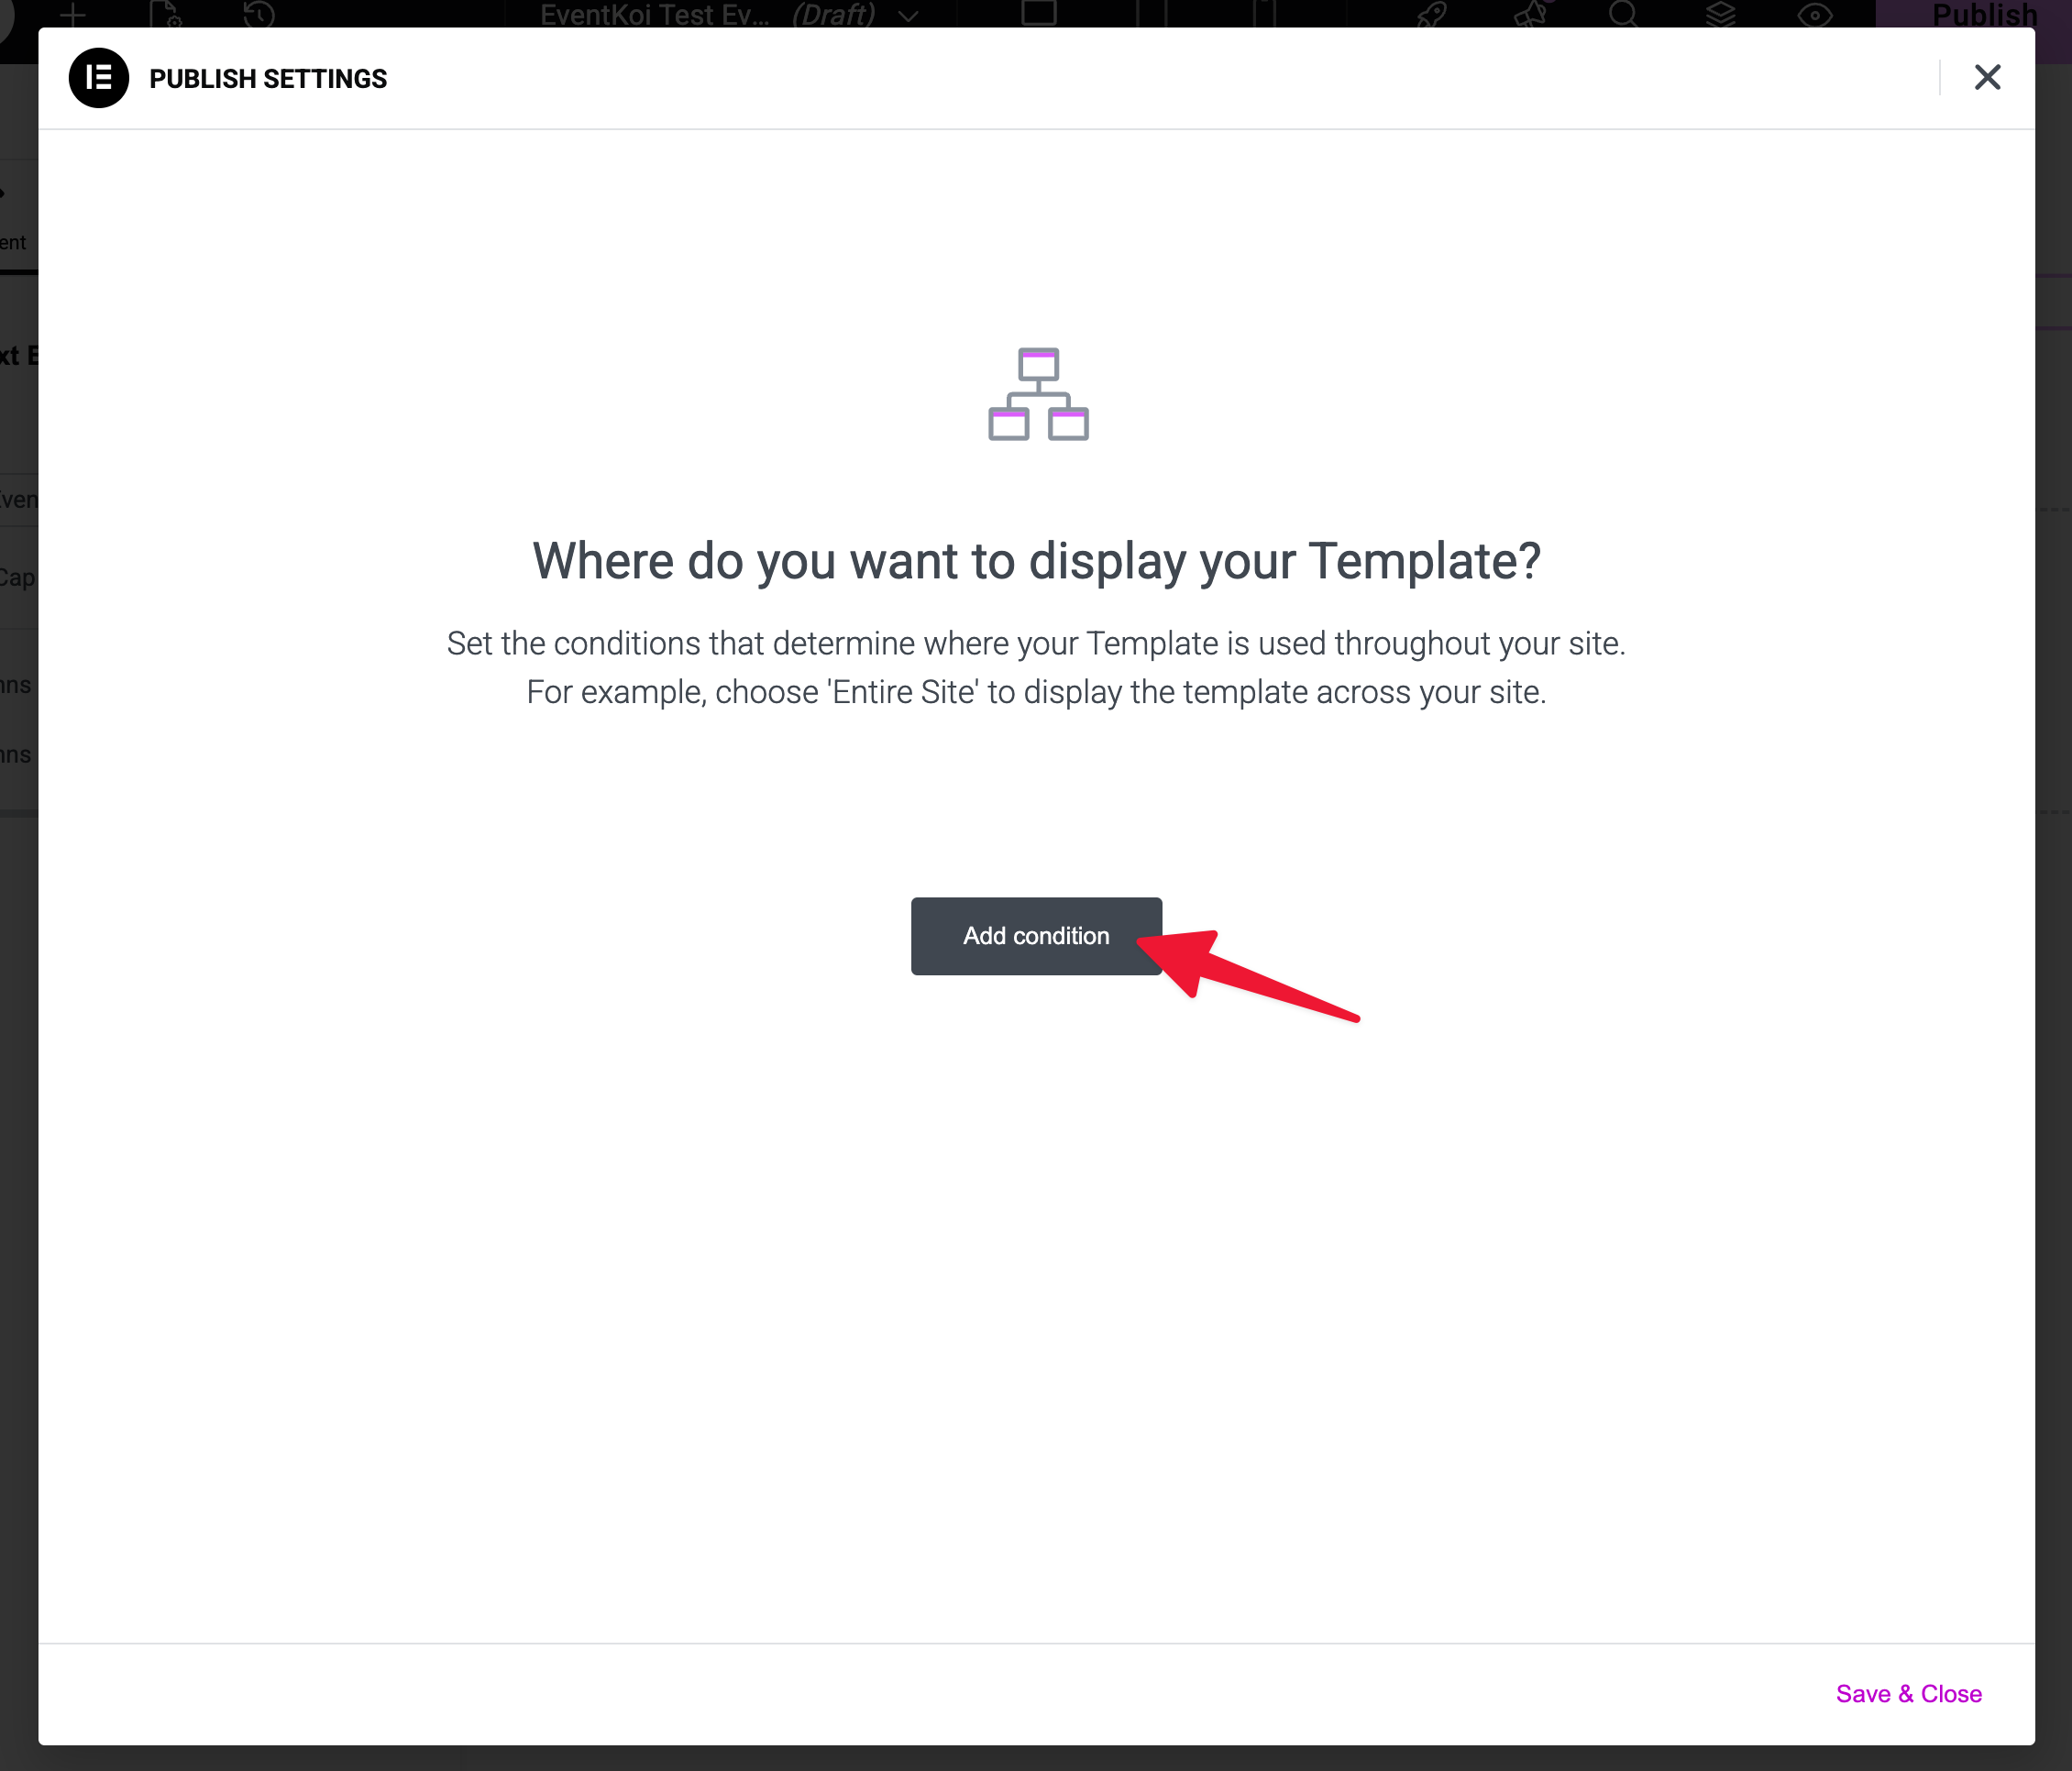
In the Publish settings modal that appears, click on Add condition.
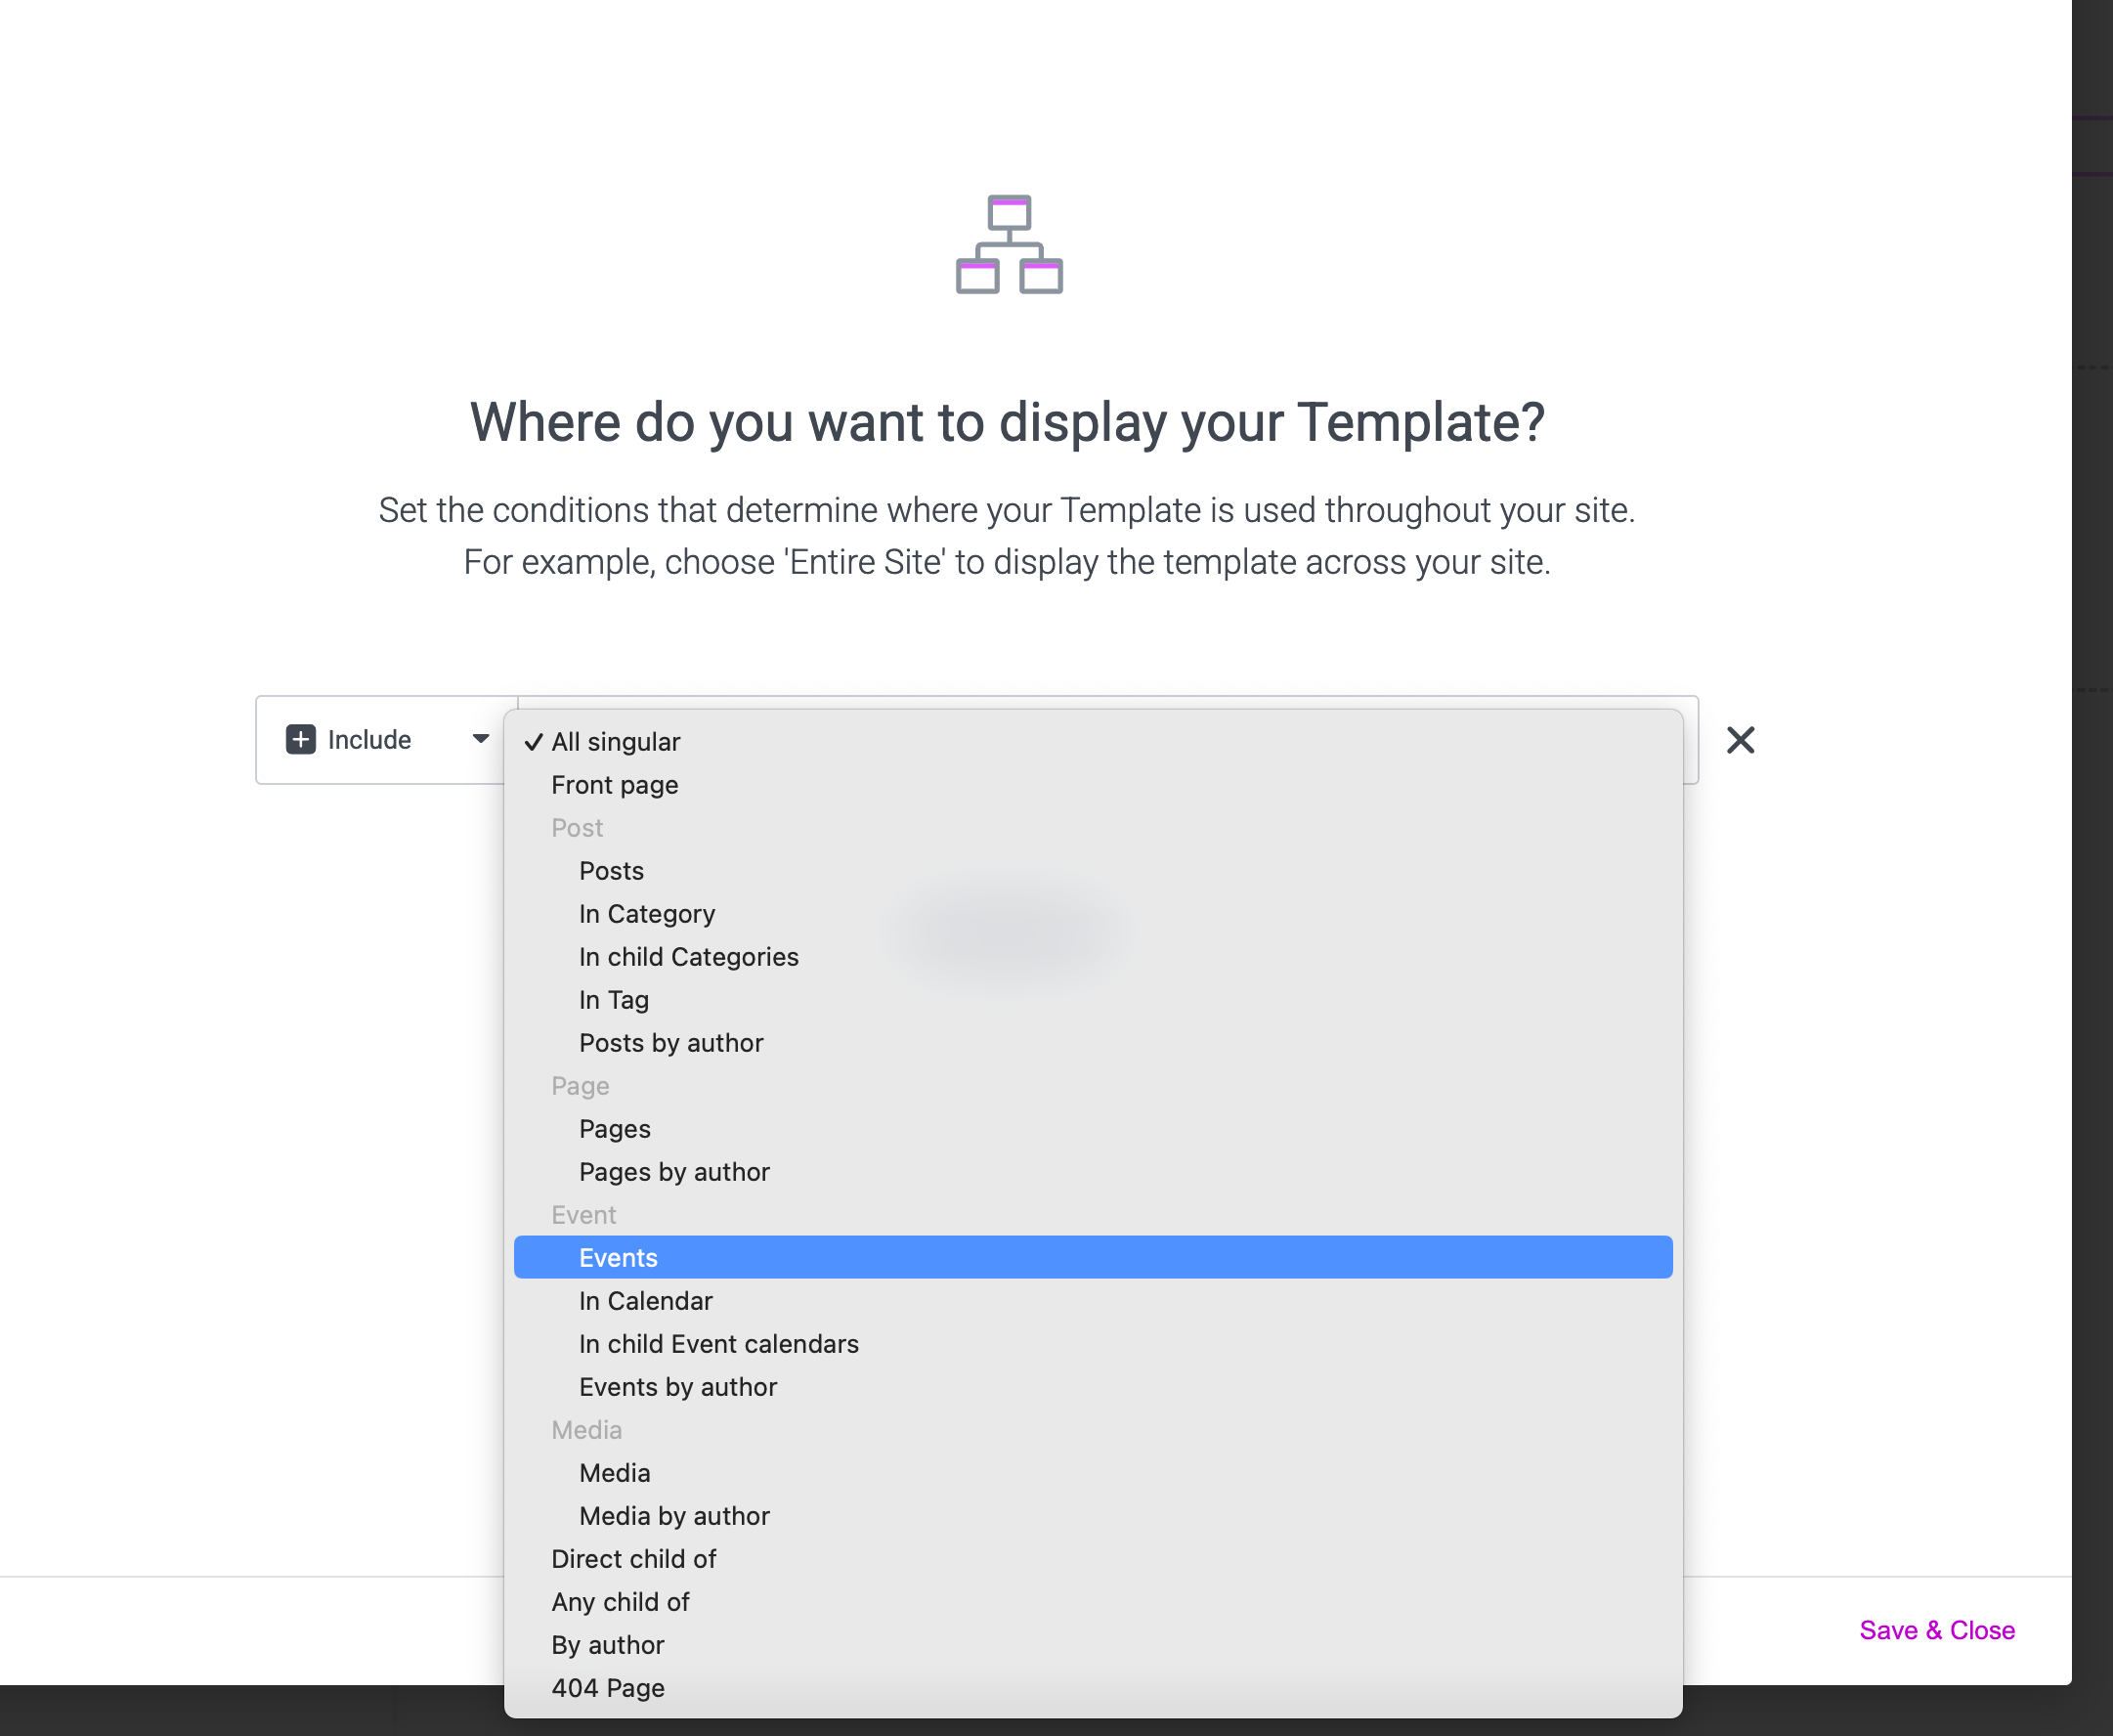
Then, in the dropdown, look for and select Events.
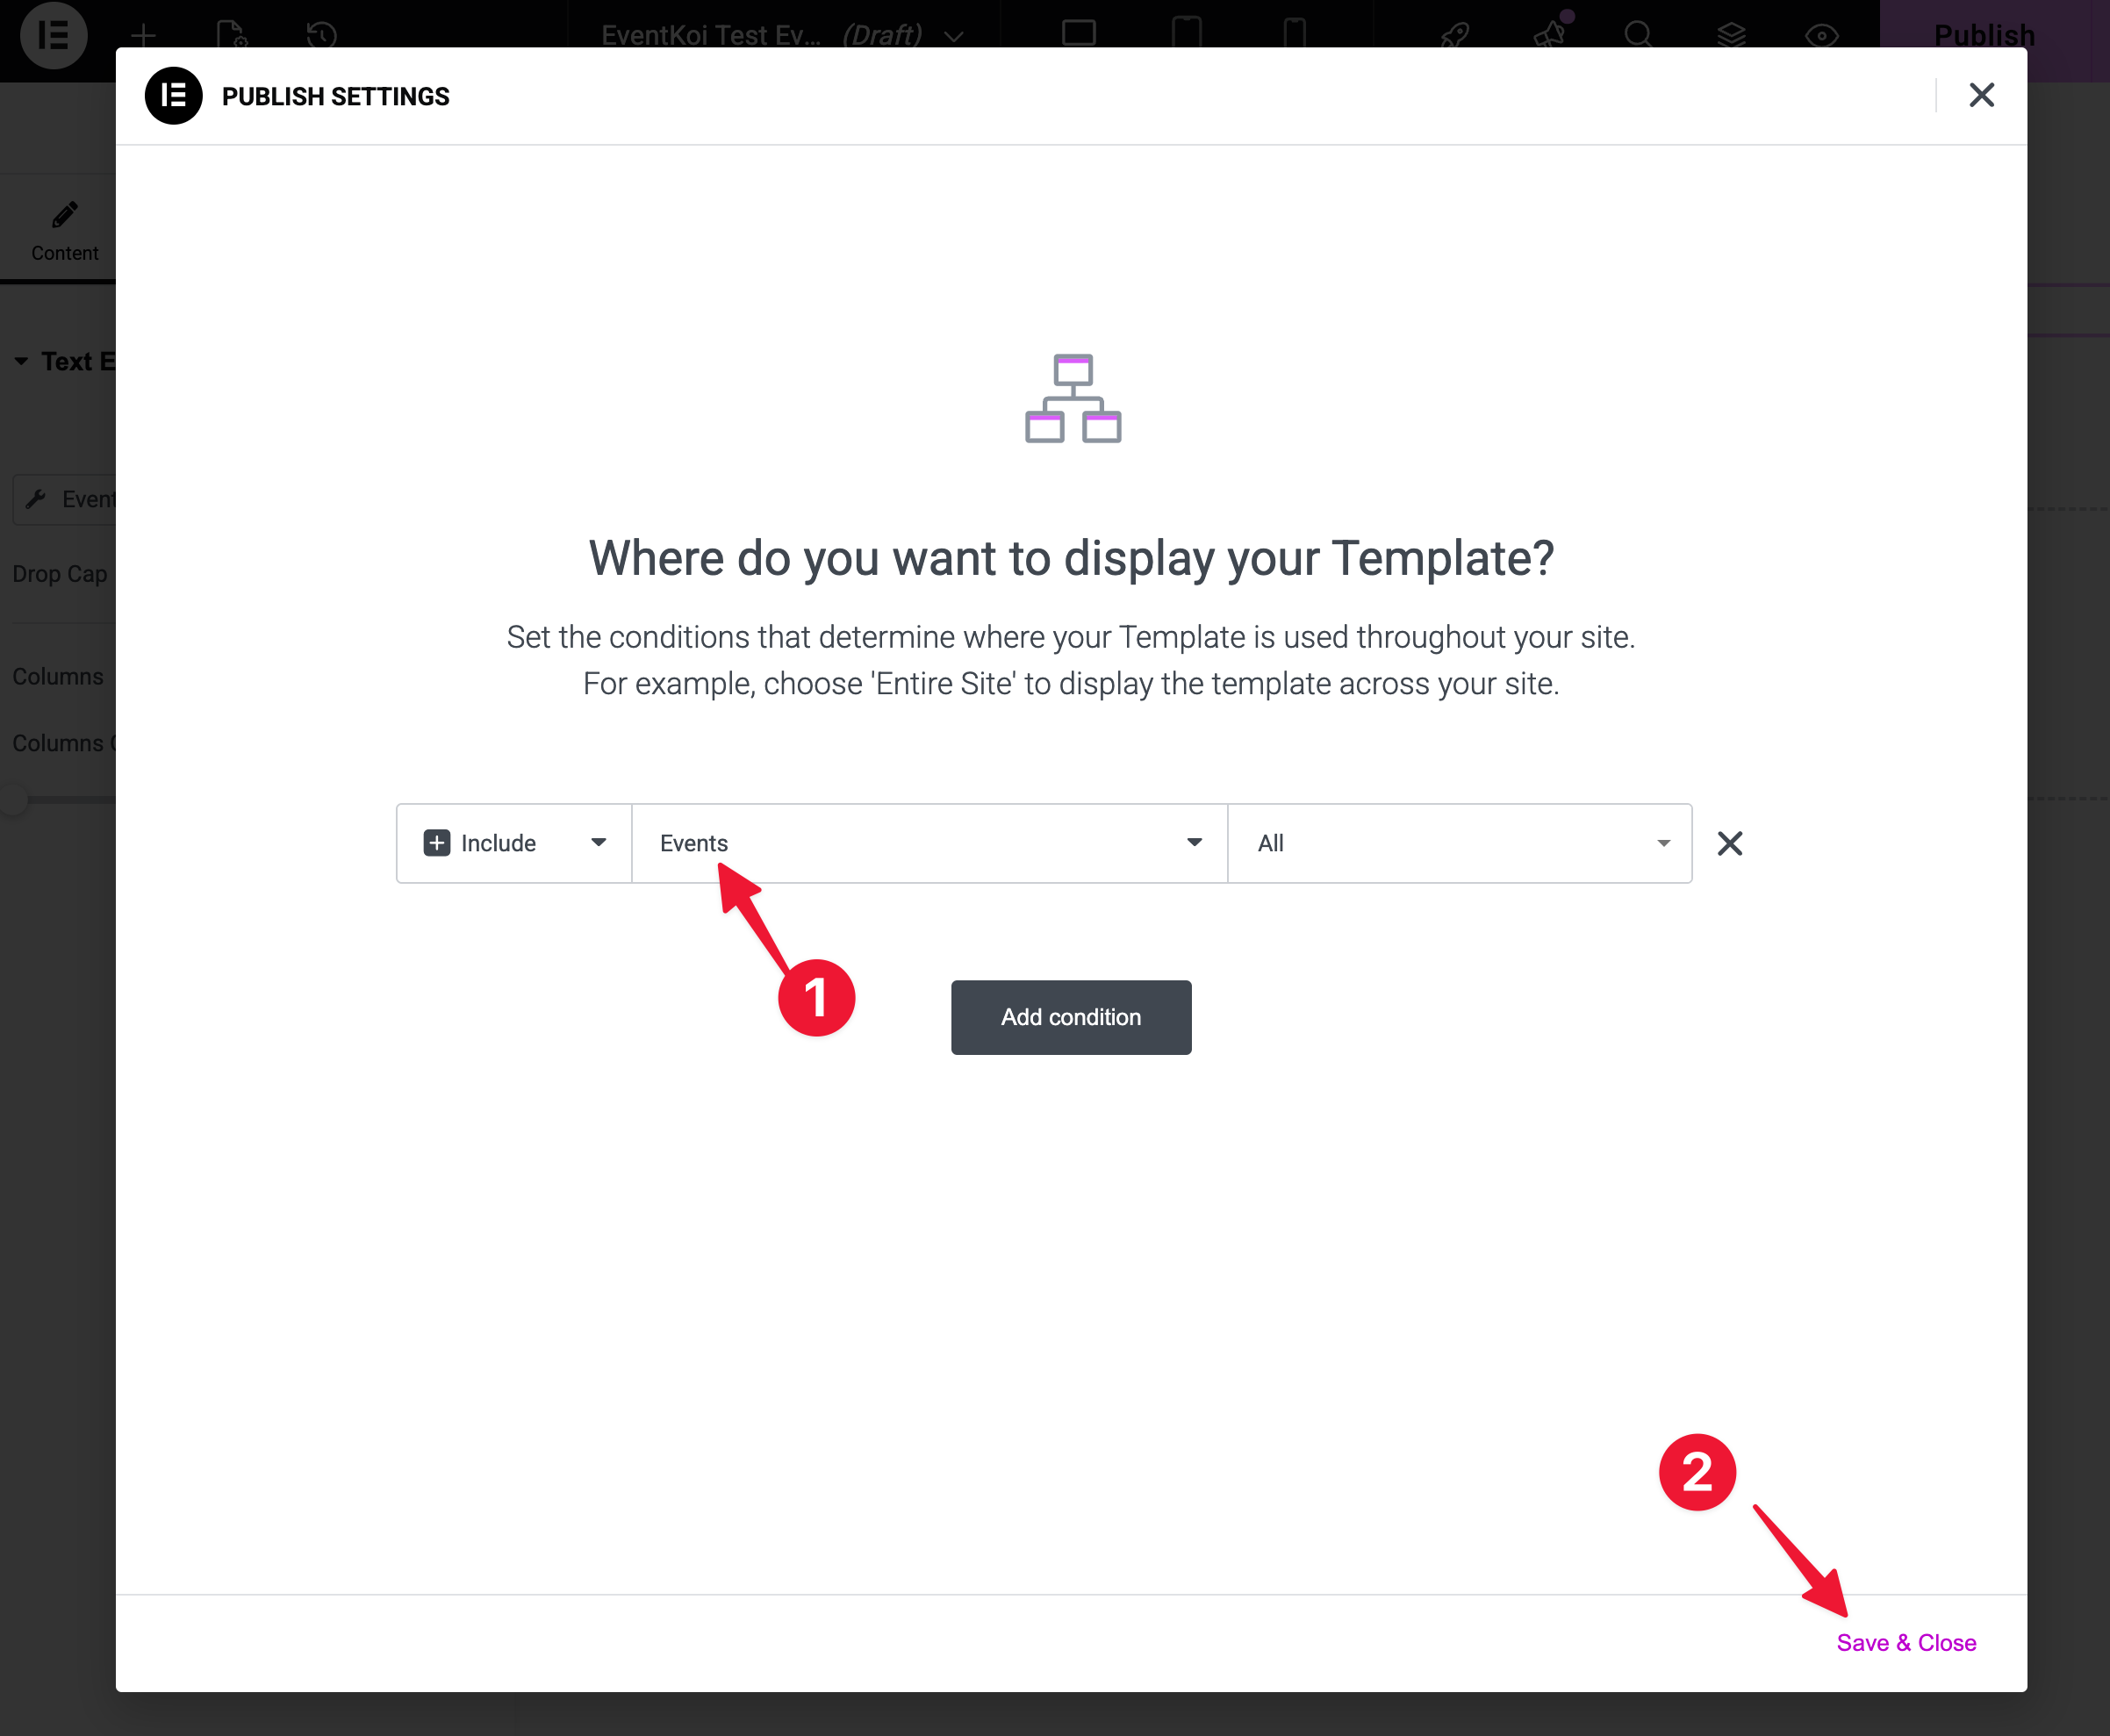
Confirm that Events is selected, then click on Save & Close in the bottom right hand corner.
After that, you will be able to select your Elementor template inside EventKoi.
Head to EventKoi and assign your new event template
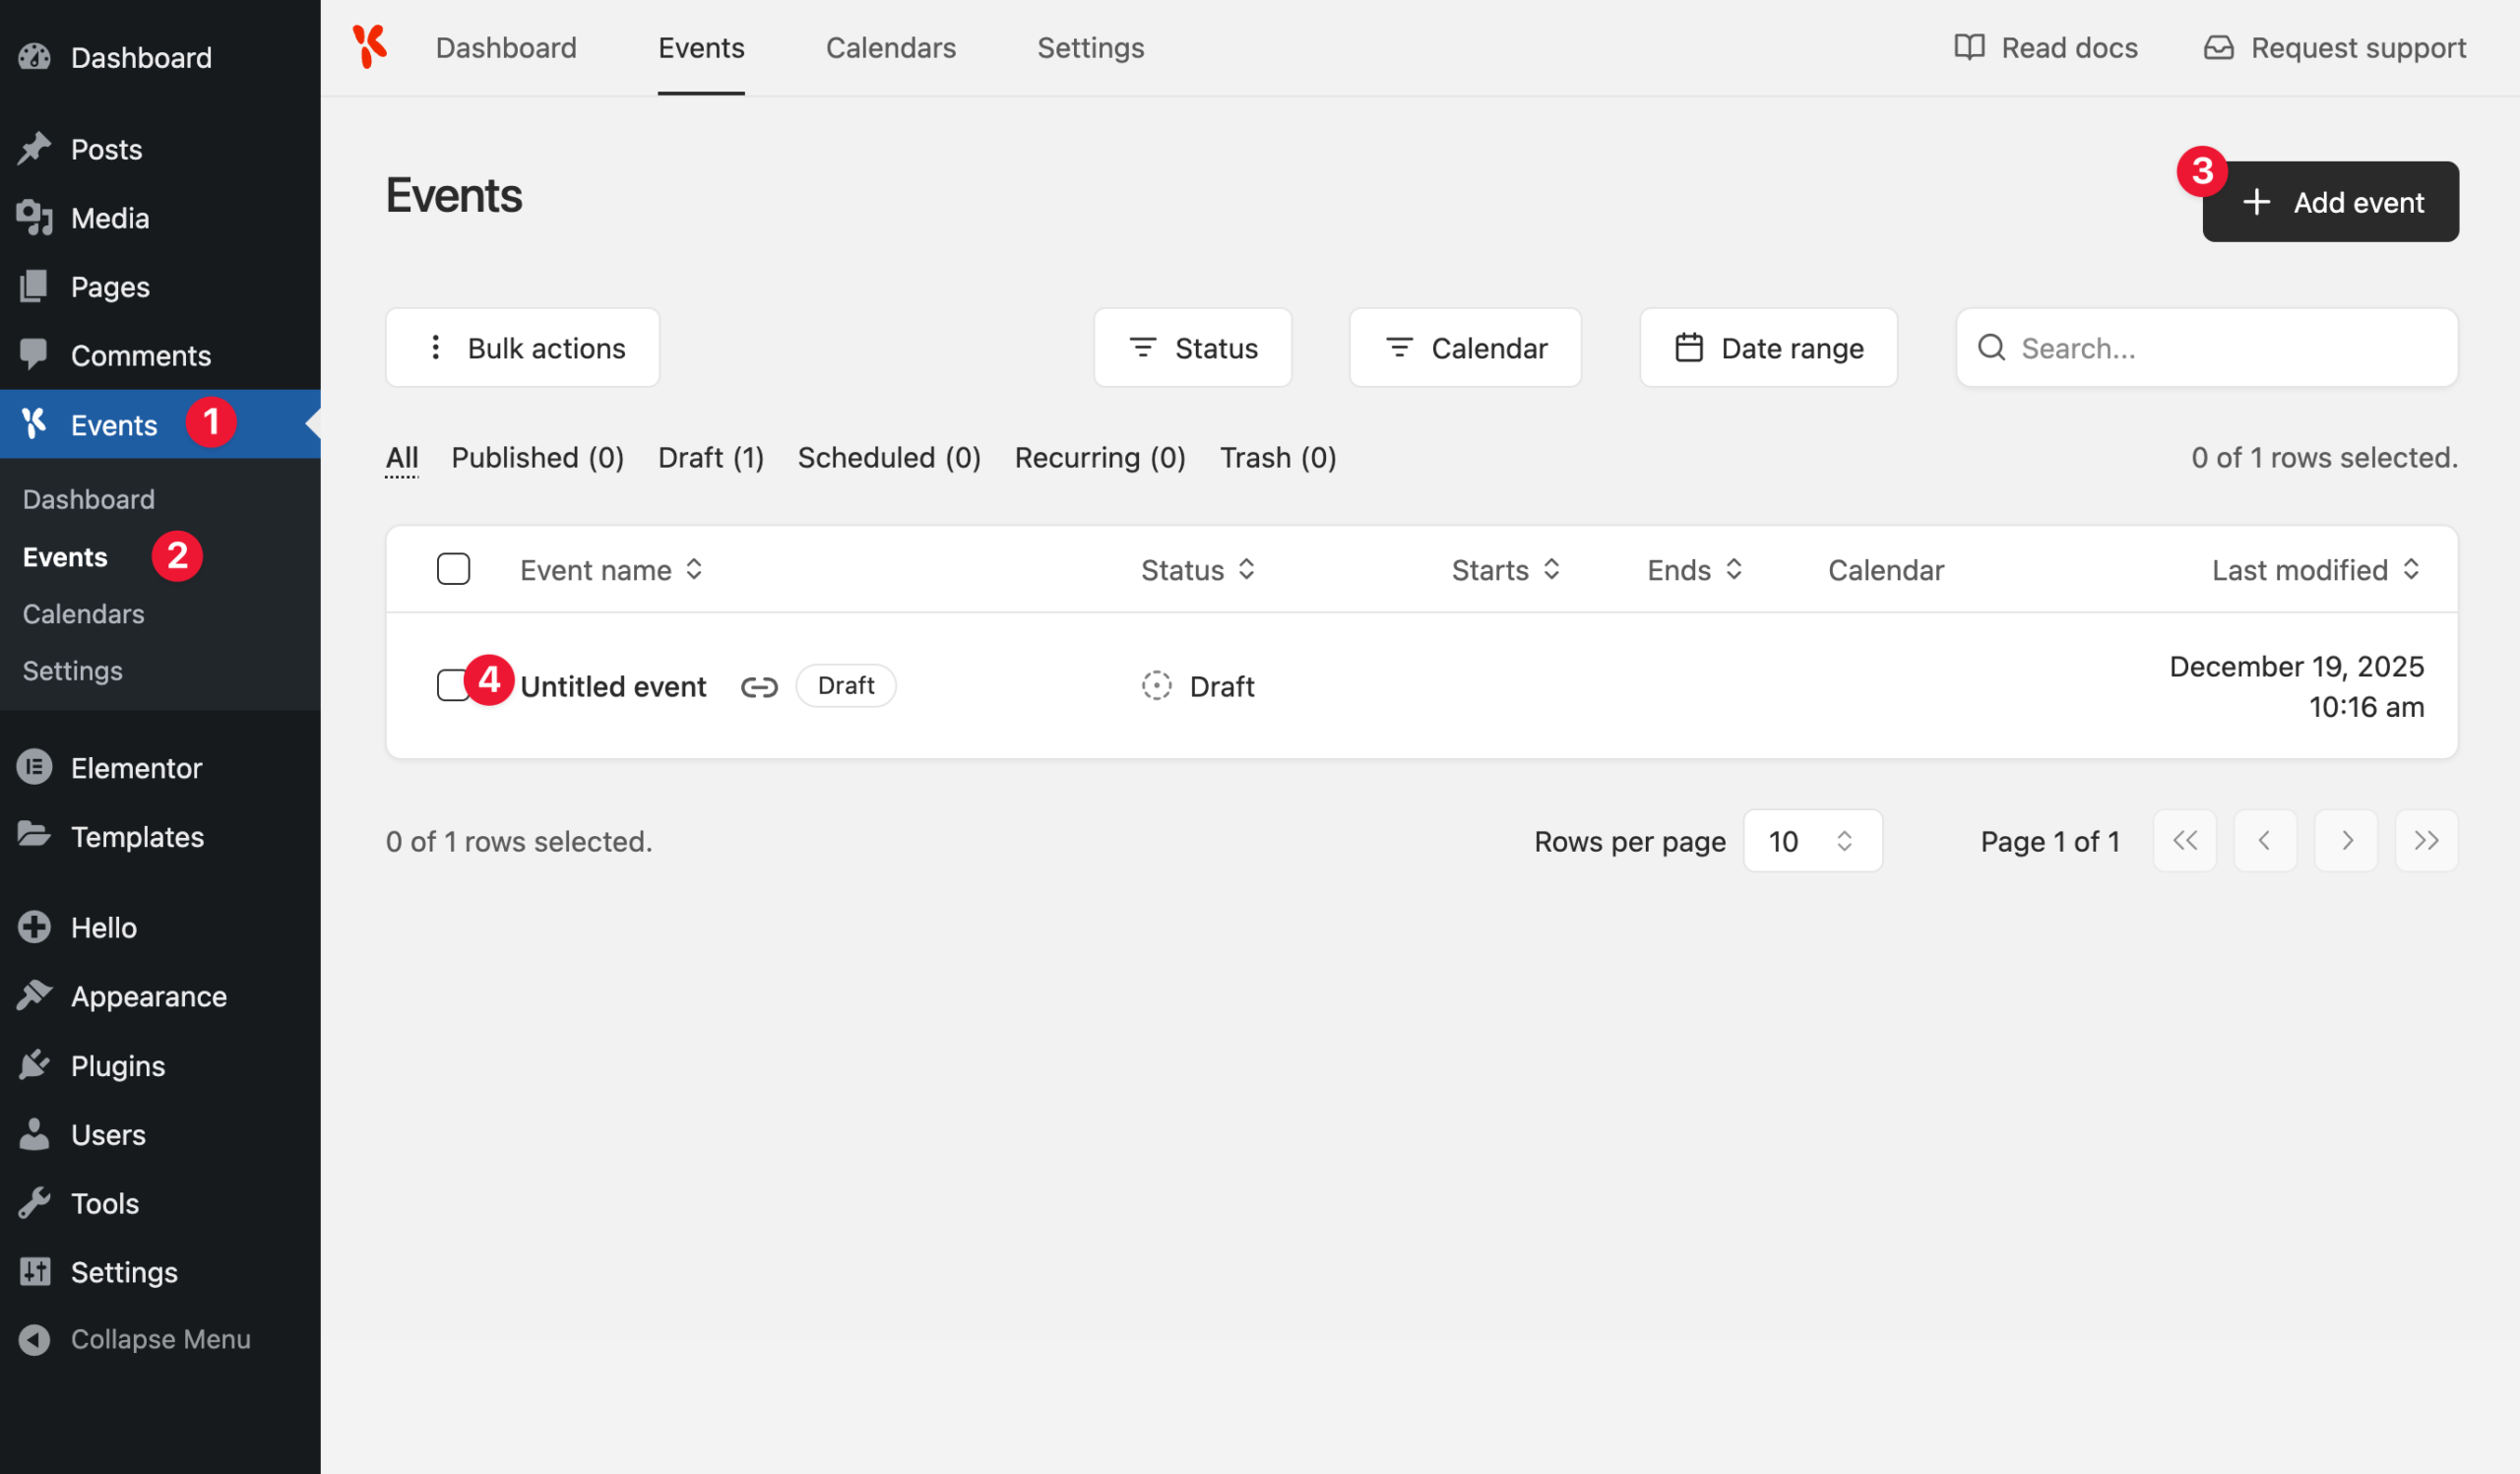
The next step is to head into EventKoi:
- Click on Events
- Then go to Events which takes you to the Events list.
- There, you can either create a new event
- Or edit an existing event.
Inside the Event Settings, scroll all the way down to the bottom until you see the Event template settings.
Here, you should see a section labeled Elementor. And. beneath it, you should see the Elementor template you created.
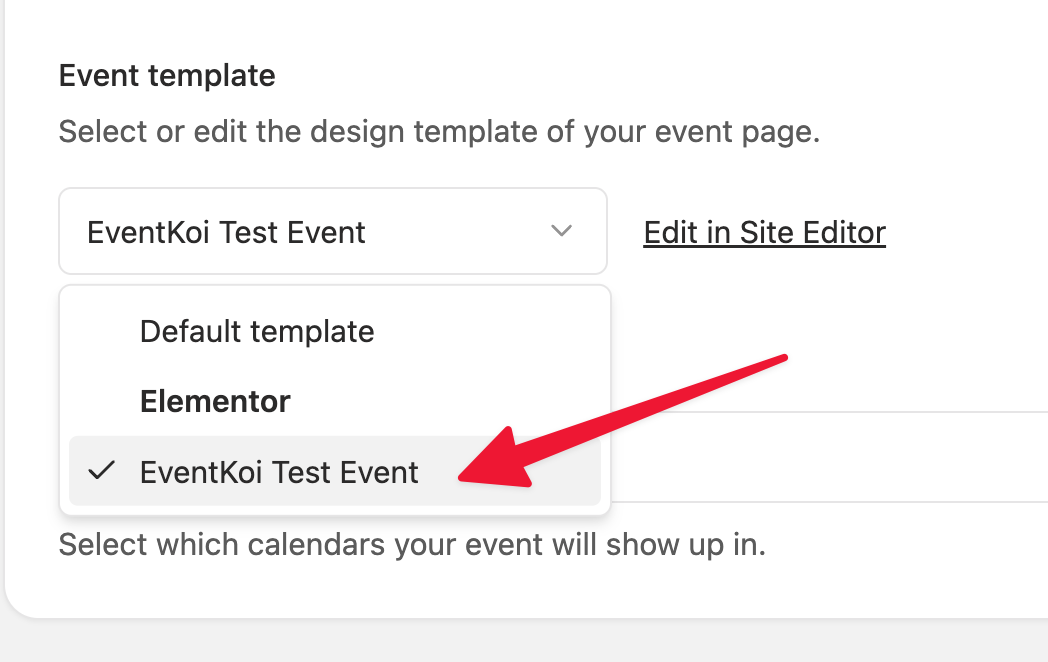
Select it and save or publish your event. And that’s it! Your event will now use your Elementor event template!
Troubleshooting
“My events are not using the new Elementor template, they are still using the old default template”
There is a 2-step process to using your Elementor template:
- First, you must select display conditions in Elementor,
- then assign the template in EventKoi.
If you do not fully complete both steps, your Elementor template will not be used for your event.