
Learn how to tweak EventKoi’s default events template without code. You can change which fields show, rearrange their order, and apply custom styling.
Below are step-by-step instructions for easy template editing.
Accessing the default events template
To begin customising the template, you will have to access it.
You can access the default events template by:
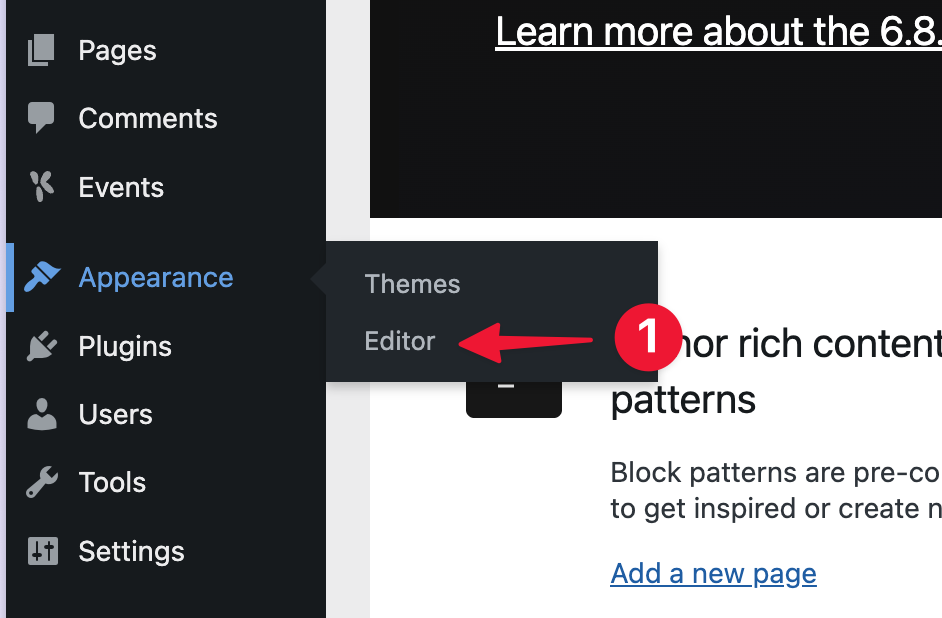
- Hovering over Appearance, then select Editor
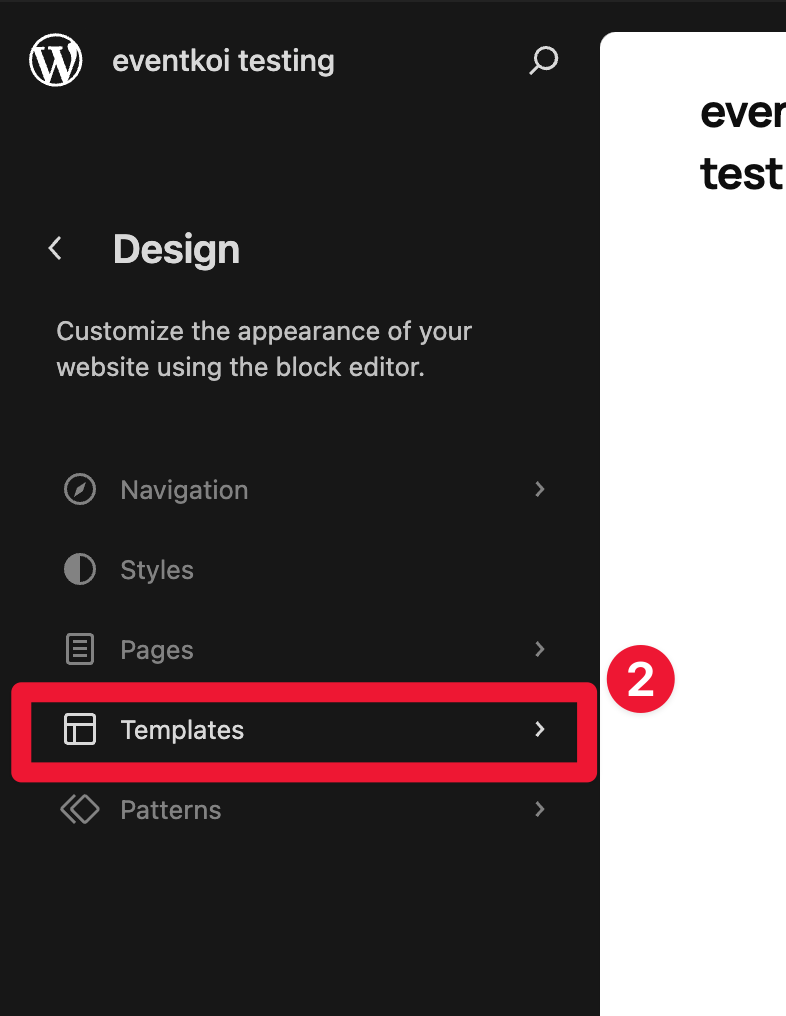
- In the Site Editor, select Templates
- Finally select the template titled Event with EventKoi as the Author

This is how the Event template looks out-of-the-box with the Twenty Twenty-Five theme installed.
As you can see, the template uses a variety of meta keys underlined in red:

What are meta keys?
With EventKoi, you can create dynamic event templates in the site editor using our meta keys. You can add any meta key into an event template and it will dynamically pull the correct information based on the relevant event.
This works very similarly to shortcodes, but with the added ability to format the meta keys (e.g. change the text size and colour).
It can only be used with the heading, paragraph, button, and image blocks. So, for example, you cannot use the event_image meta key with the cover image block.
Get the complete list of meta keys here:
Editing the event template
You can edit the event template however you want by adding and customising blocks in the site editor.
However, if you want to edit the dynamic data in the template (for example, the event title or event time), you will need to do that with meta keys.
Here are some examples of where you can find and how you can use the meta keys in the event template:
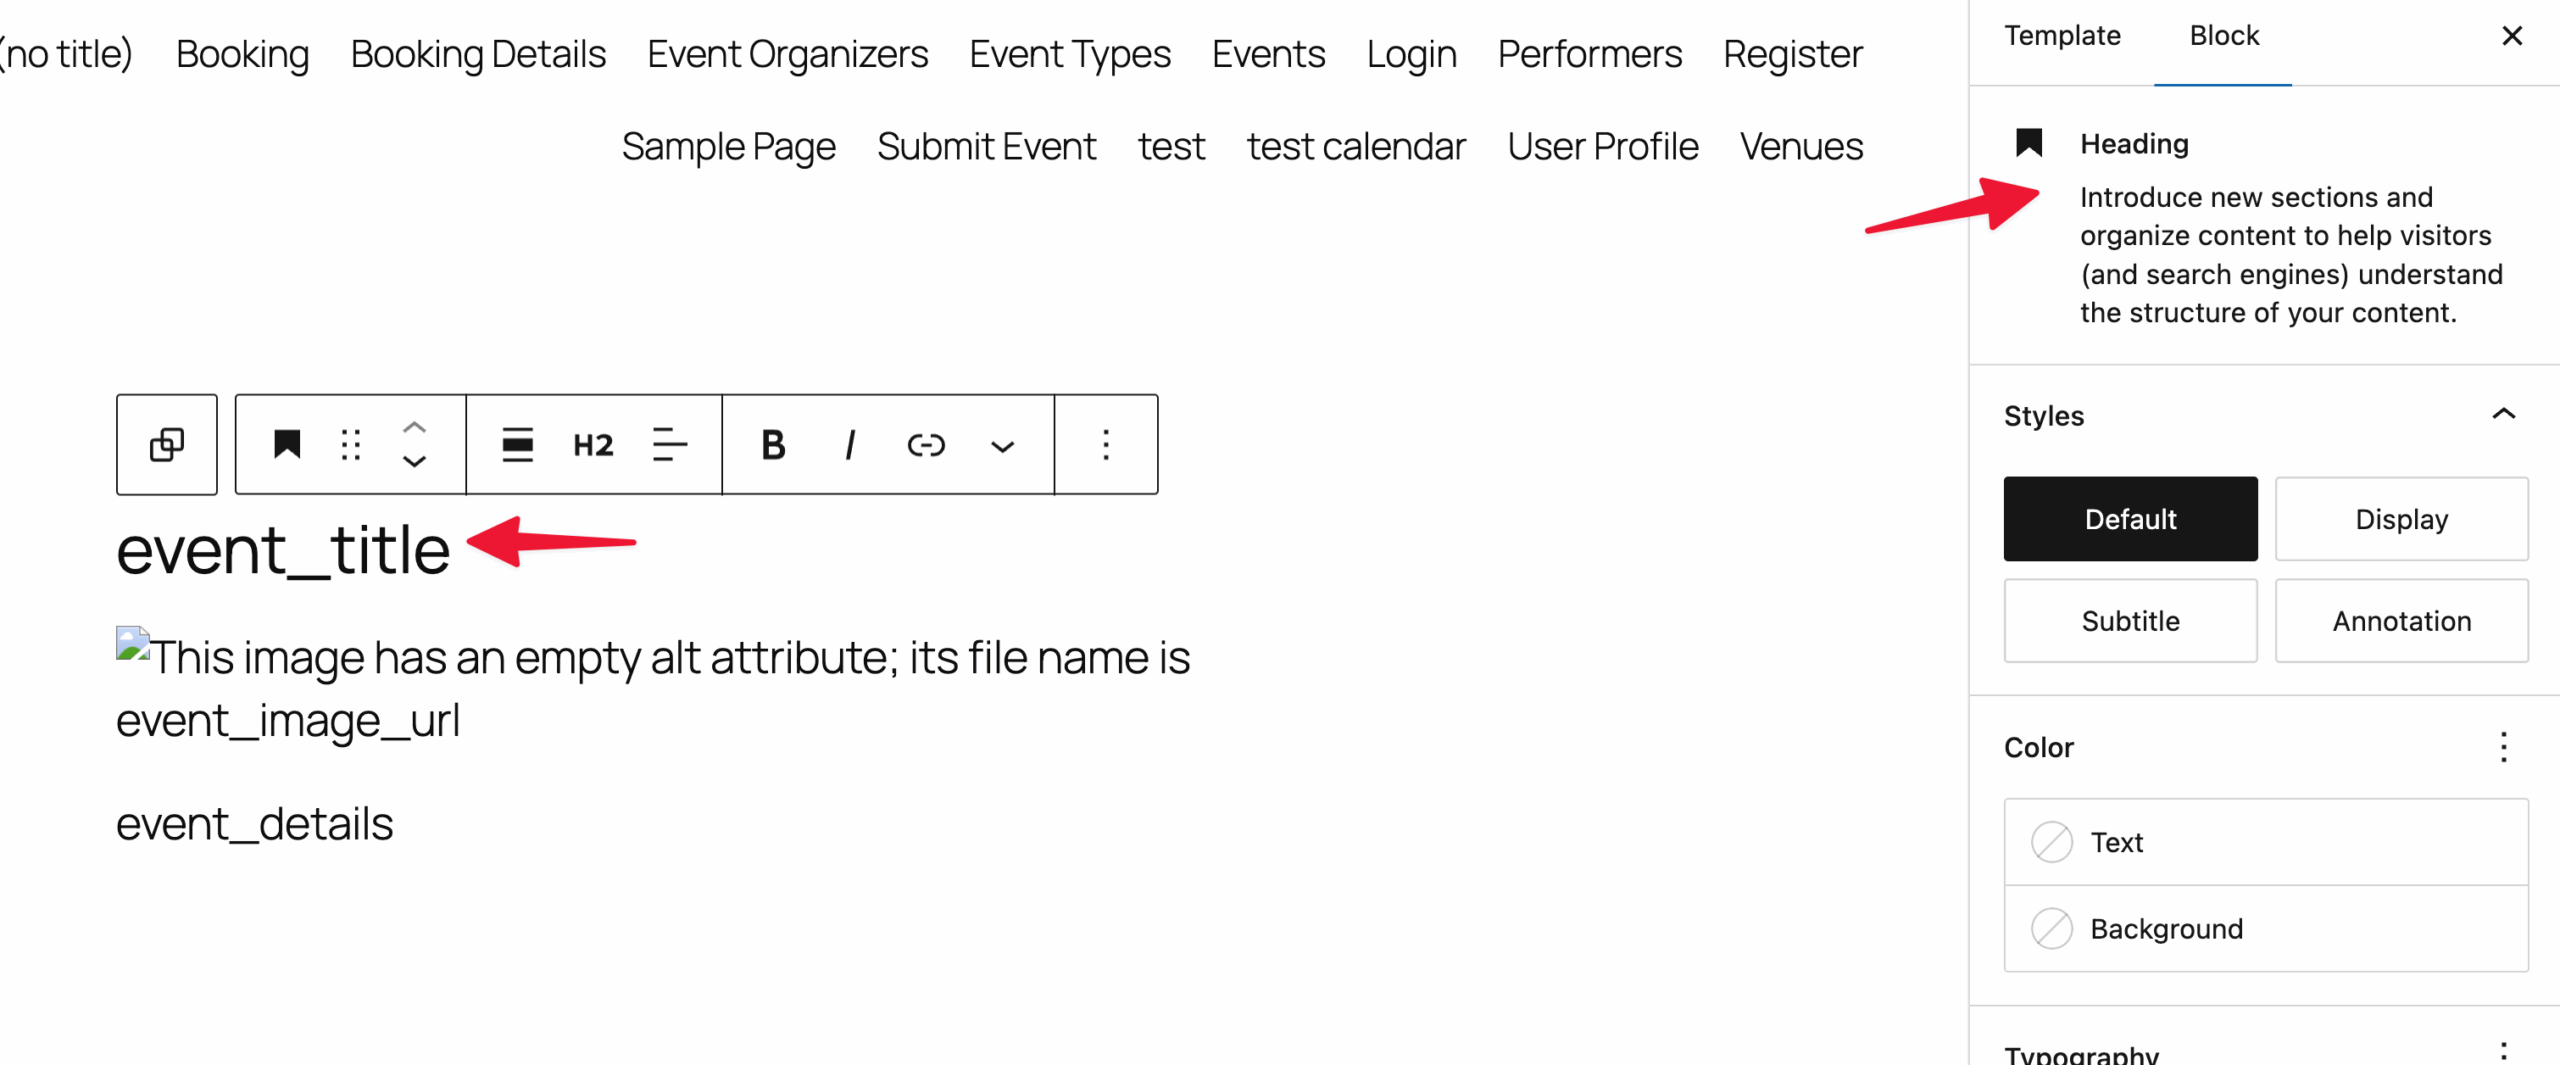
Adding event_title to the heading block
You can see that the event_title meta key is used here in a Heading block. It is simply typed into the Heading block.

Adding event_details to the paragraph block
You can also see that the event_details meta key is used in a paragraph block.

Other meta keys like event_datetime or event_timezone work similarly and can be added directly into the paragraph block.
Adding event_image_url to the image block
The image block works slightly differently. To connect a meta key to an image, go to Attributes, select URL, then select event_image_url. Doing it this way allows you to format the image. For example, add a border radius or change the width and/or height.

However, if you just want to add the exact image you selected into the event template, you can simply add event_image in a paragraph block. That will display the event image as well, but you will have no formatting options.

Customising an individual event template
So far, you’ve learnt how to customise the existing default event template.
But what about creating an entirely new template for a different event? You can do that too!
If you want to create a brand new template for events, you can:
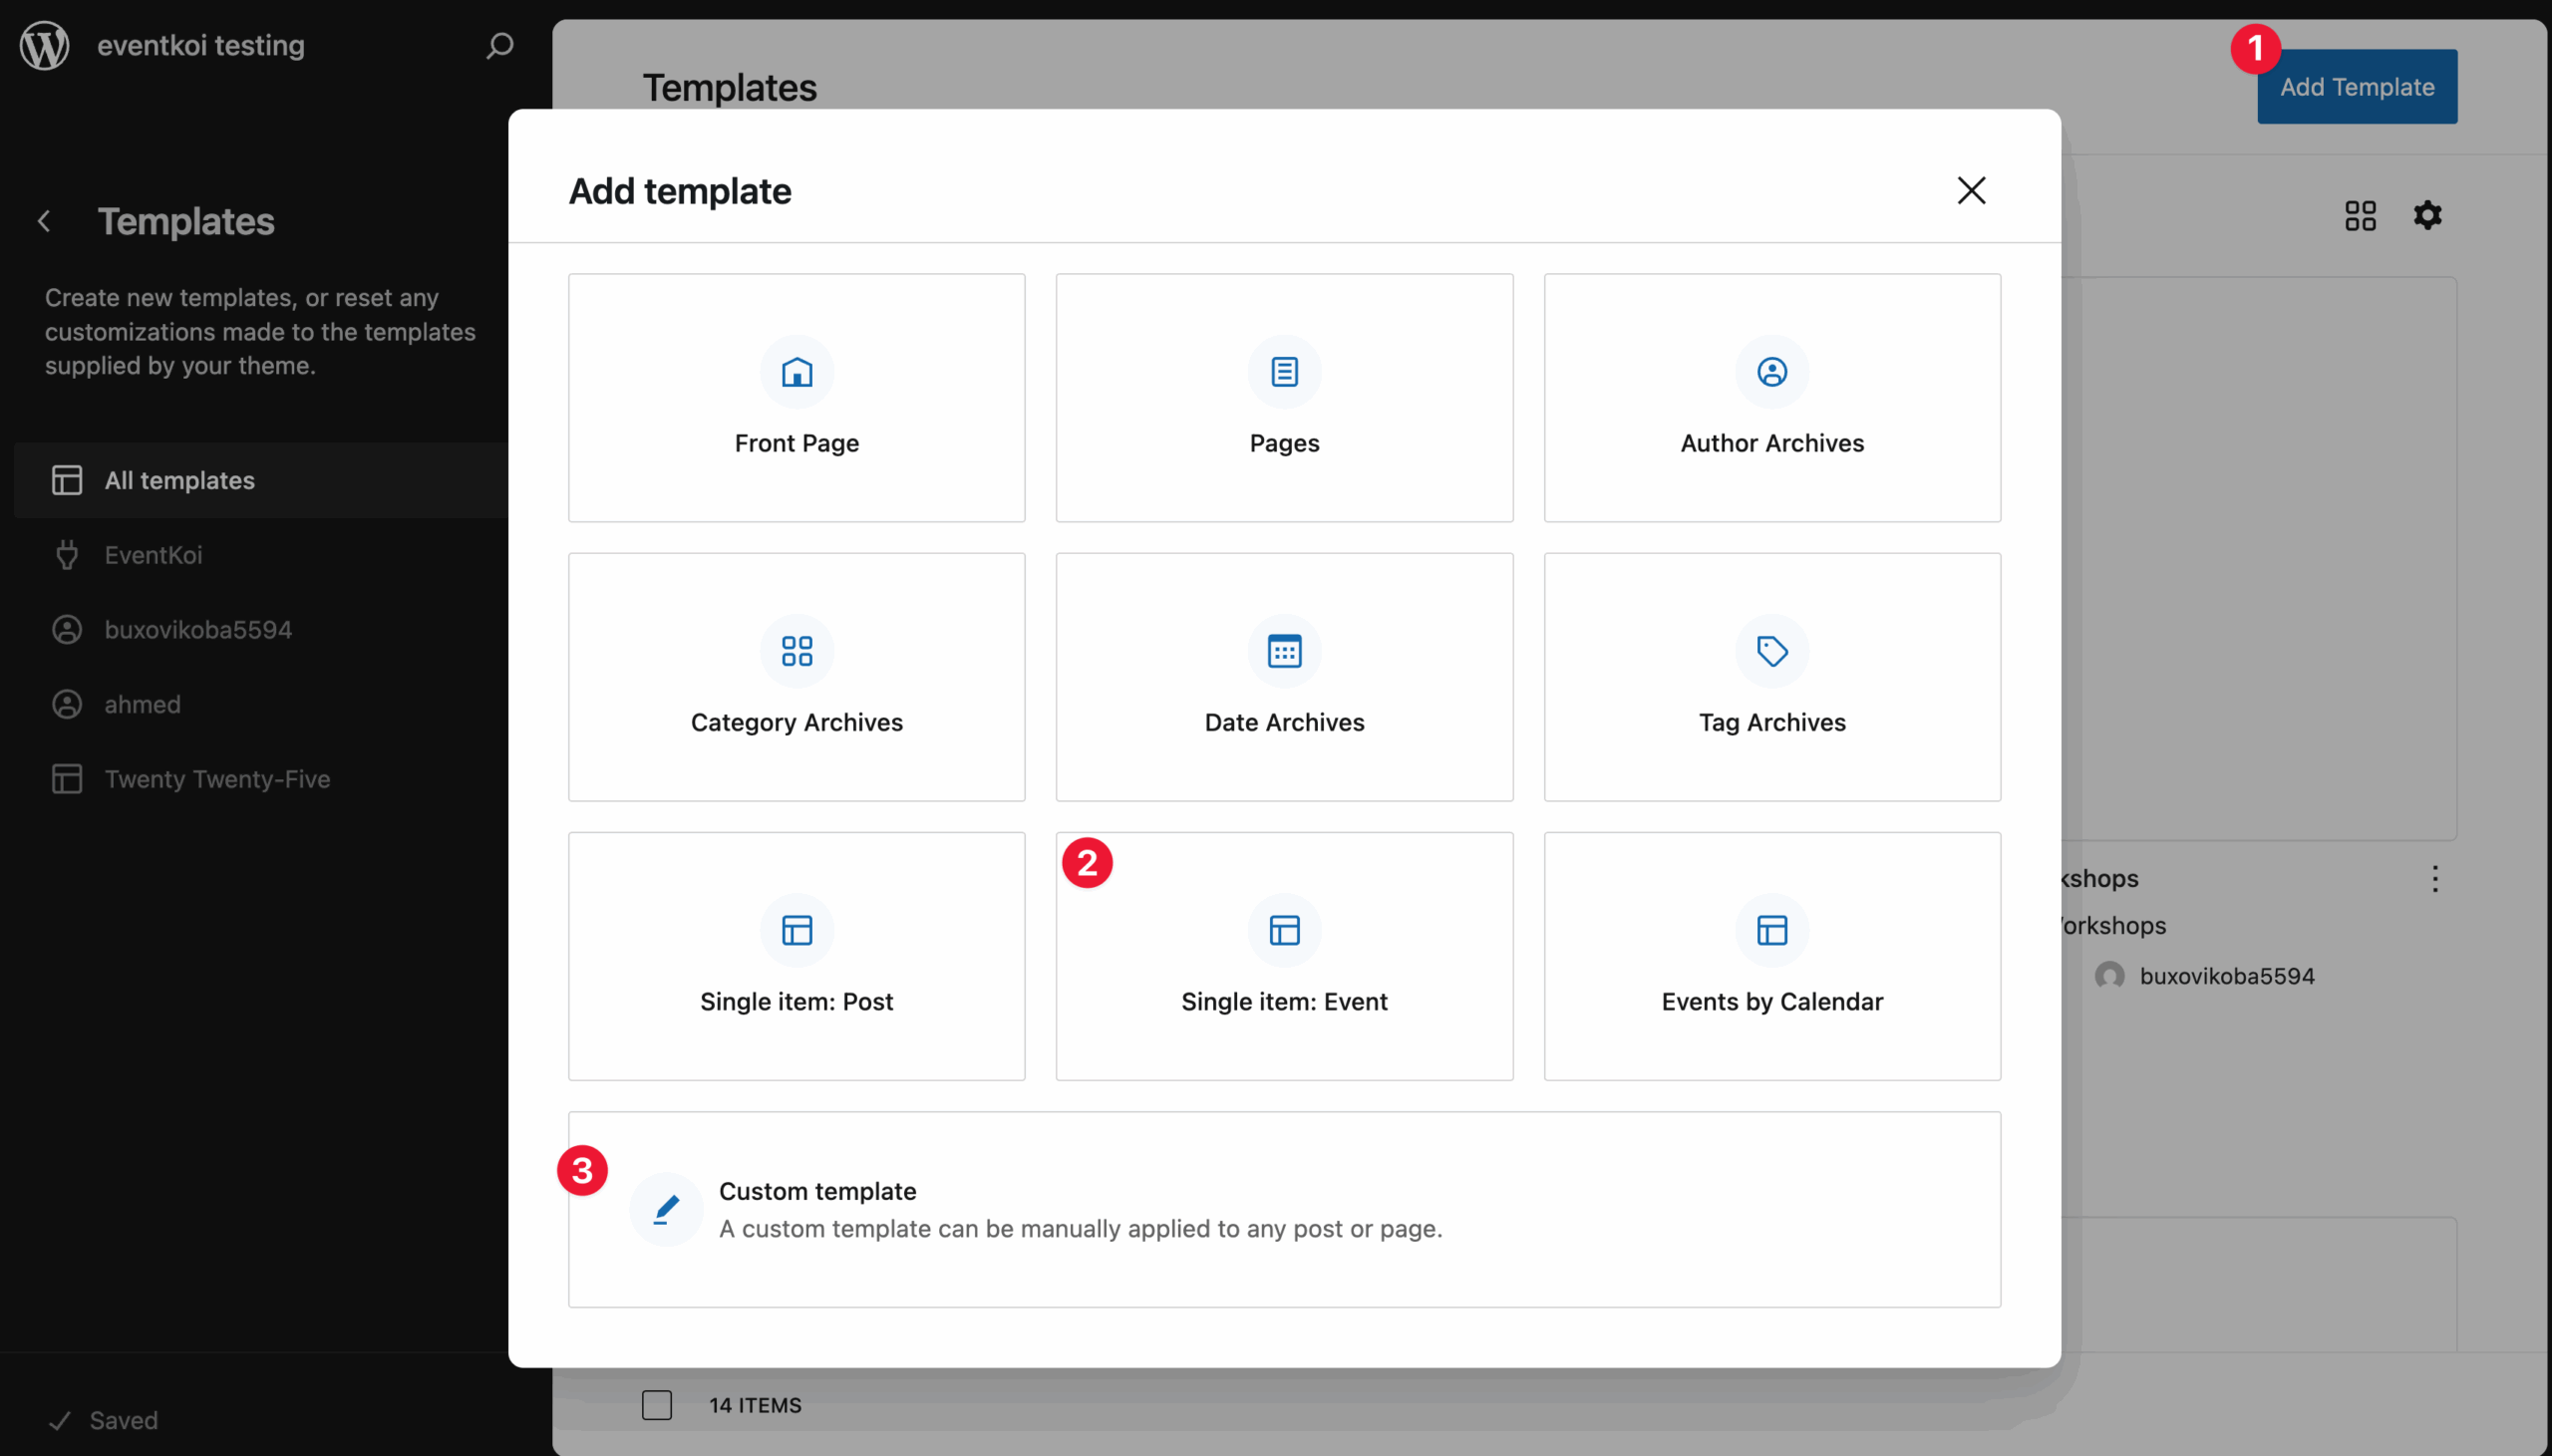
- Select Add template in Templates in the Site Editor
- Then select Single item: Event, and assign your new template to an existing event.
- Alternatively, you can create a custom template first, and create your event later.
- Later on, you can assign your newly created template to your event inside the event settings.
- Go to your event
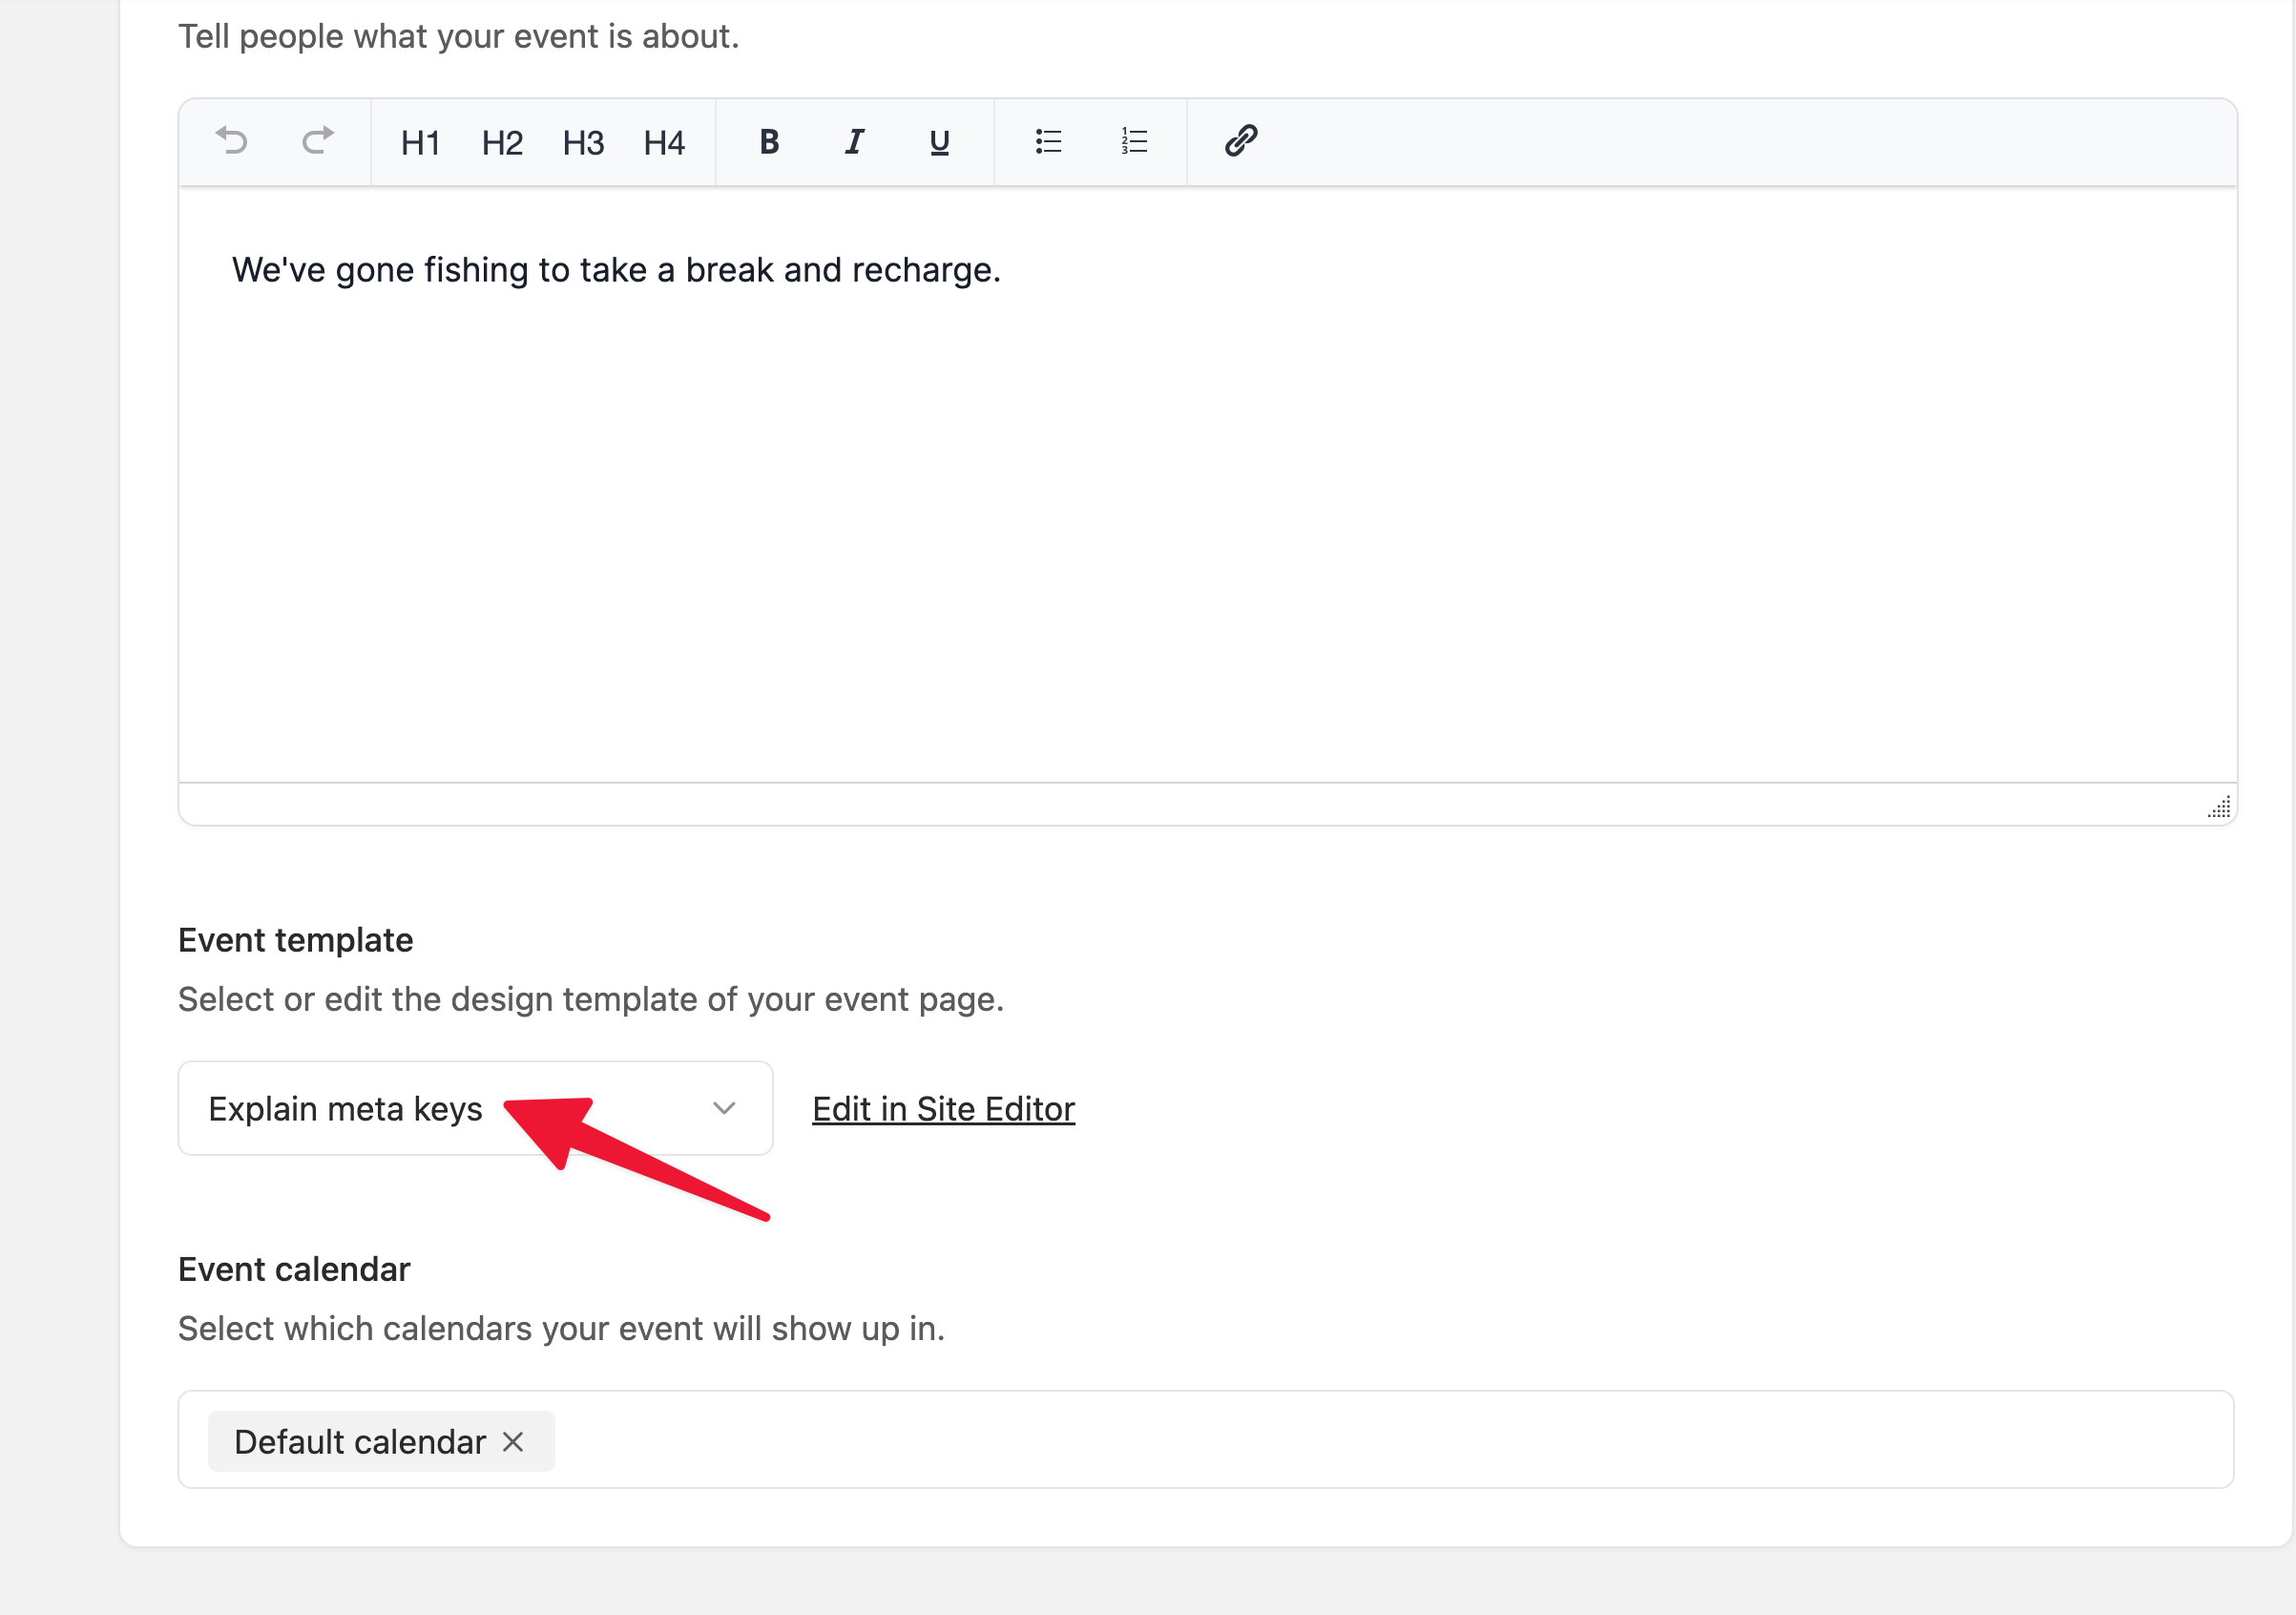
- Scroll down to Event template and select the template you want to use.

Once you’ve created your template, you can add meta keys and design them.
This works very similarly to customising the default event template. The only difference here is that you’ll be presented with a completely blank template and you will be starting from scratch.
Adding an event image in a custom template
Adding an event image in a custom template is different from the default template. There is no Attributes UI for custom templates, so you will need to insert from URL instead.
- Add the image block
- Select Insert from URL
- Paste event_image_url meta key

It might appear broken like this, but it should work on the frontend.

Adding an event_title into a custom template
To create an event title, add the Heading block, and type in event_title.
Adding event_details into a custom template
To add event details, add a paragraph block or simply type event_details. The same applies to other meta keys like event_location, event_datetime_with_summary, event_datetime and more.

Putting it altogether: Custom template example
Here’s a custom template I created by adding the meta keys:

I then created a new event called “Gone Fishing”.

And selected the template I just created called “Explain meta keys”
And this is how event looks like to site visitors with the template applied. You can see that the information I added in the event settings are correctly pulled into the event via the meta keys.
