The Event Query Loop block lets you display events based on order, start and end dates, events per page and more.
This block comes with a list view and grid view. Both of which are completely customisable in the block editor.
List view:

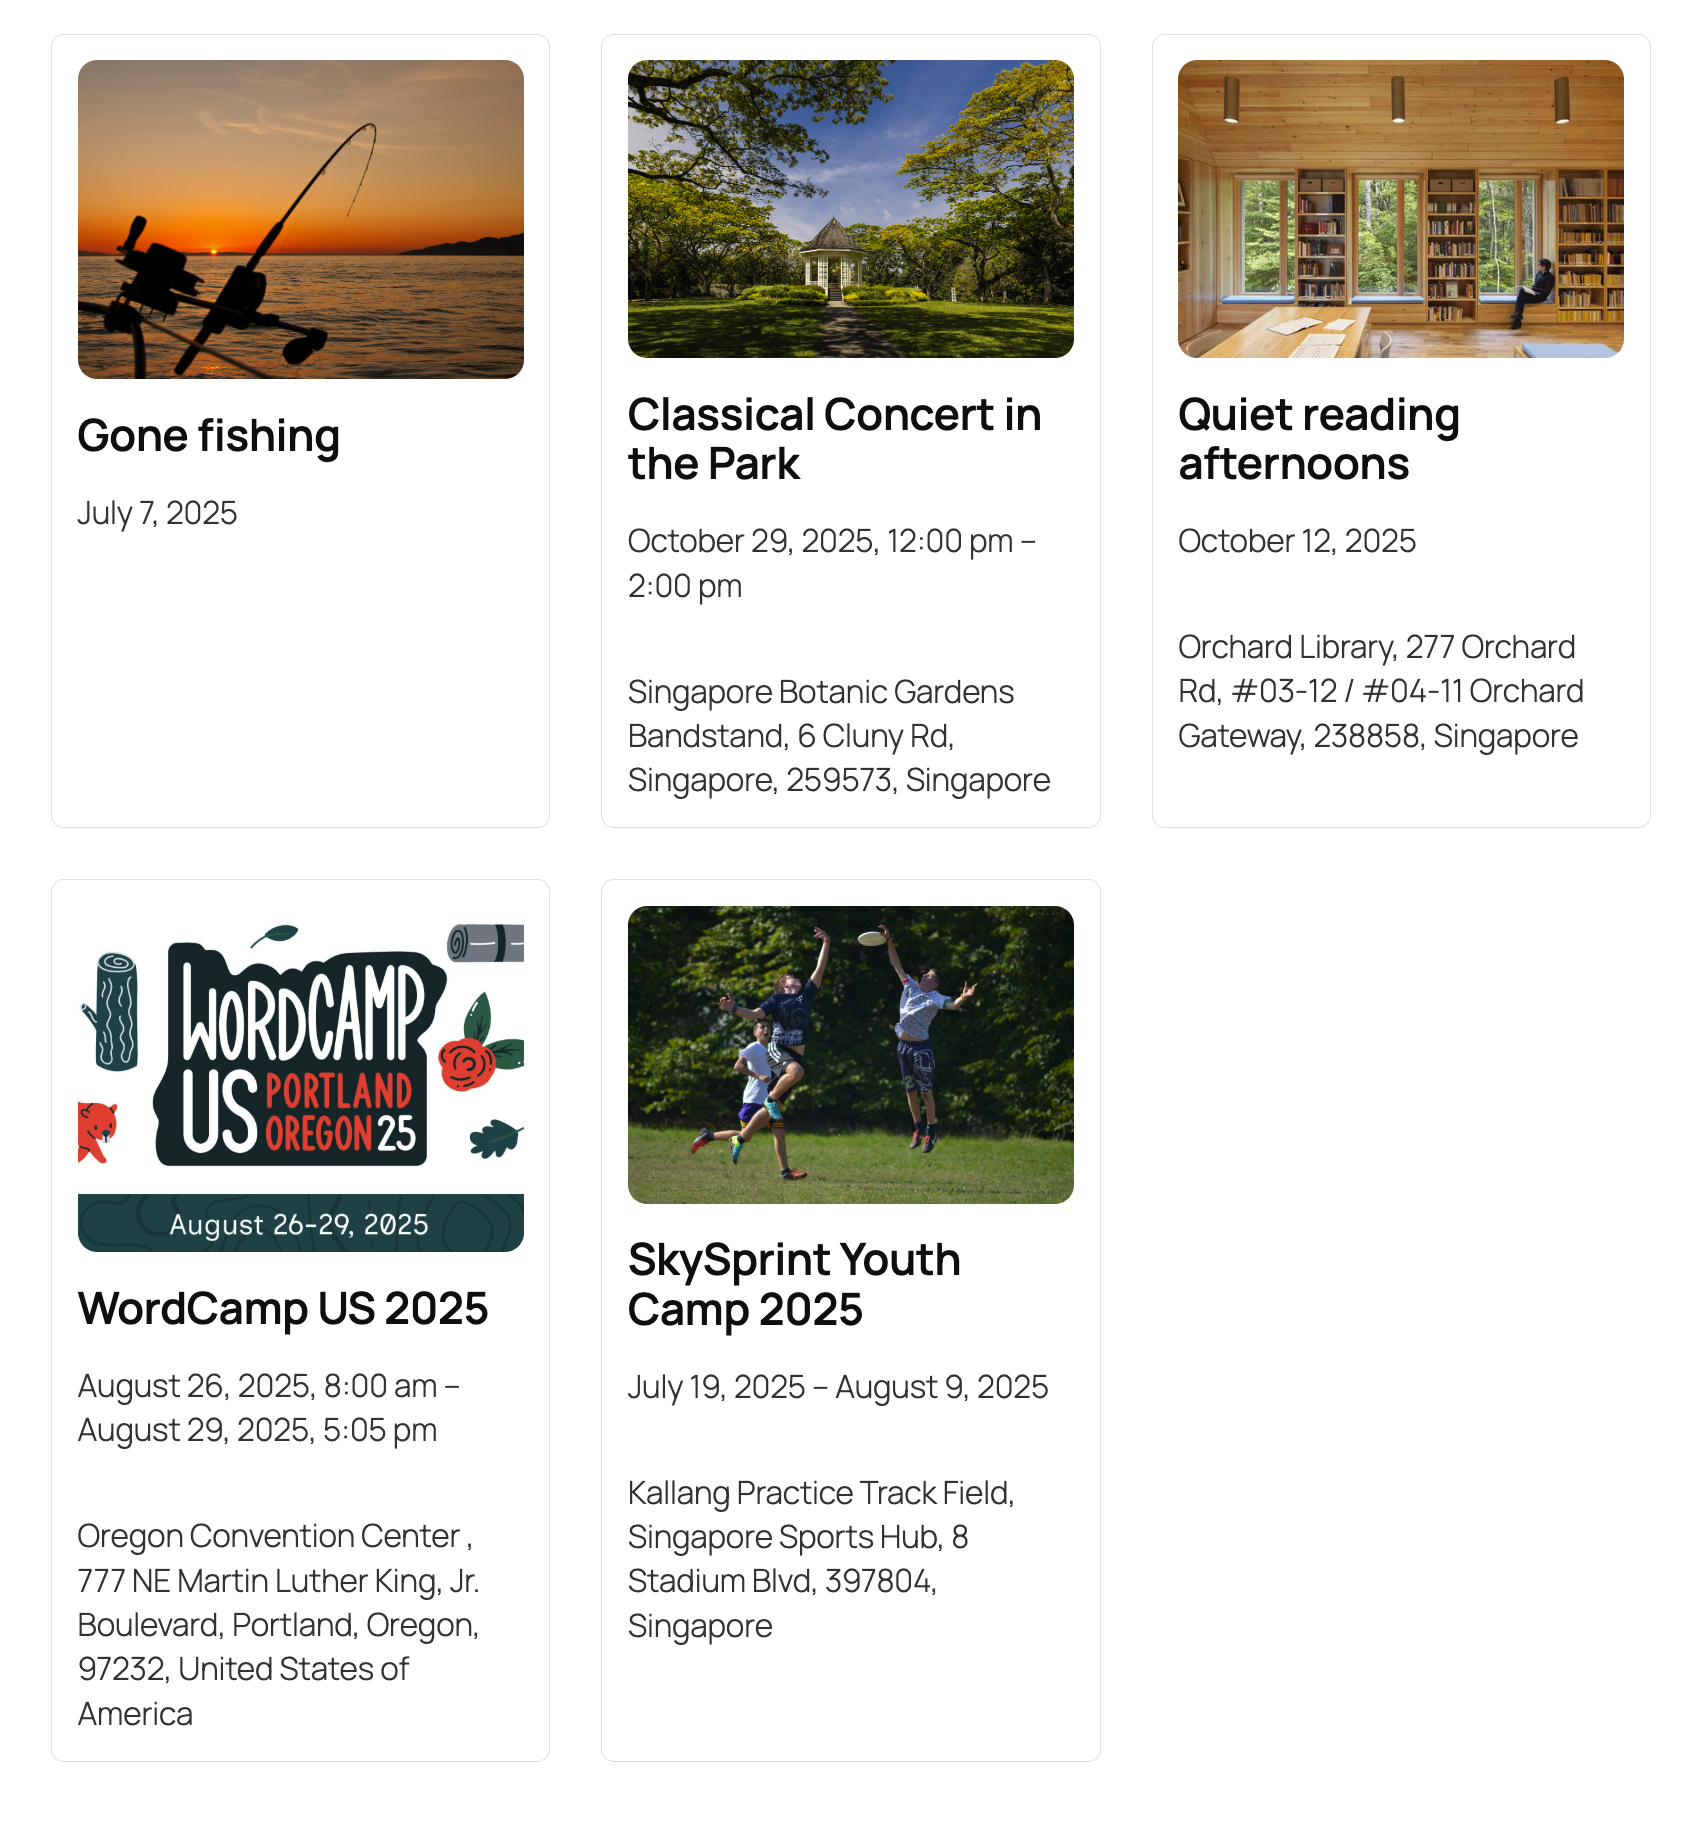
Grid view:
Adding the Event Query Loop block into a post
To add the Event Query Loop block into a post, click on the block inserter to add a new block.
You can either click on the light blue square plus button on the top menu OR the black square plus button inside the block editor itself.

Then type in “EK” in the search bar, and select EK Event Query Loop block.
Query settings in the Event Query Loop block
The first thing you’ll see with the Event Query Loop block is the Query Settings. Here’s where you can define which events will be displayed.

Events per page
This allows you to select how many events you want to display on your page.
The block also includes a pagination option. This is useful if you have 20 events, but only want to show 10 events per page. A site visitor can use the pagination buttons to navigate to the other events without leaving the page.
Order by


With this feature, you can select how you want the events to be ordered by. The options include: Last modified, Publish date, and Title. You can also select from order direction – Ascending and Descending.
Select calendars

Calendars work similarly to Categories in EventKoi. Each event is assigned to a calendar. By default, your events will be assigned to Default Calendar (which you can change at any time).
This allows you to categorise your events and have separate calendars for different types of events.
You can add one or more calendars from the dropdown.
Start and End date
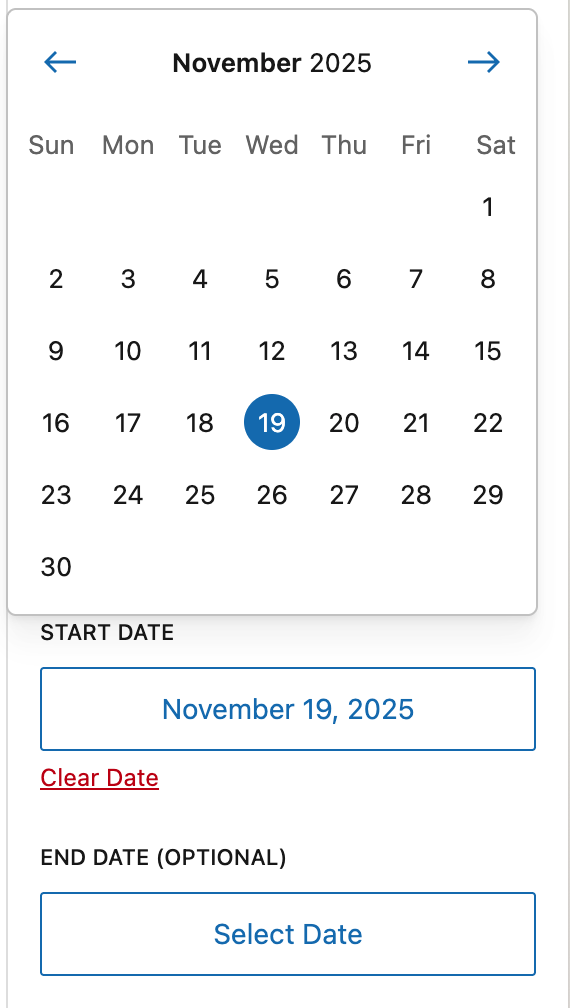
Use the Start and End Date feature to display events happening during a specific time period.
For example, you might have events the whole year. But you want to create a special winter page displaying only your winter events. You can use the Start and End Date feature to select the dates during the winter period.
Include recurring instances

This is a useful feature if you have recurring events. By default, “Include recurring instances” is toggled off. This means that your event query will only show the recurring event series page, not the individual instances.
For example, you have a weekend pottery course lasting 1 month. And you have created a recurring event for that course. In total, you have created 8 individual event instances (4 x Saturdays + Sundays)
You have the option of keeping “Include recurring instances” toggled off. This would should a single listing of the weekend pottery course in your event query.

Or, if you toggle on “Include recurring instances”, you would see 8 listings of your pottery course, one for every day of the course.

In addition, you can also select which events should display as individual instances by toggling on “Limit to a specific event”.
Lets say you have two recurring events, a weekend pottery course and a week-long clay camp. You want to display individual instances of each day of the pottery course, but you want to display the clay camp as one single event.
To achieve this, you can toggle on “Limit to a specific event” and select “Weekend Pottery Course”.
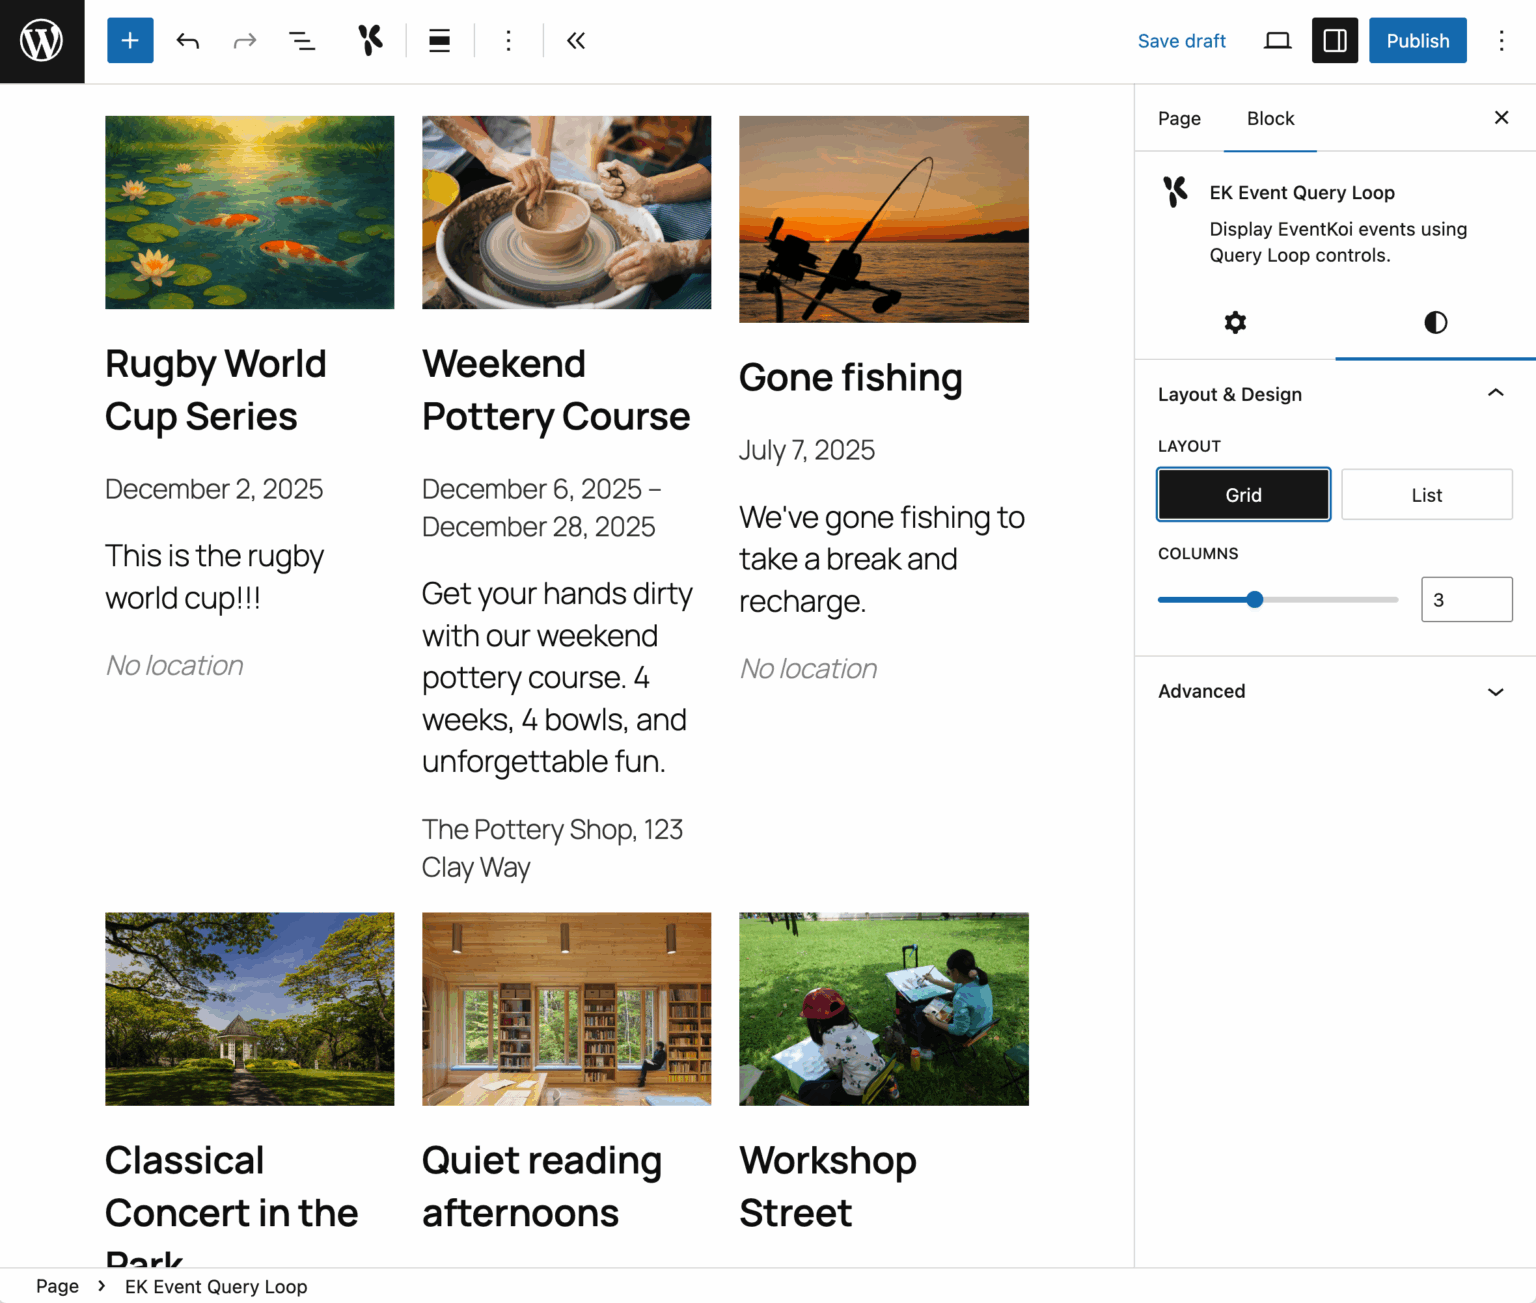
Layout and customisation options in the Event Query block

The Event Query block also has many design options, which you can access by navigating to the Design tab.
Layout
Select between a list or grid view for your event query.
List view
With the list view, you can have the image on the left or right. Or opt for a stacked single column layout.

Grid view
With the grid view, you can decide how many columns you want your grid to contain.
The Event Query Loop block is made out of multiple Event Data blocks

The Event Query Loop block is a block variation of the Query Loop block and has a number of blocks nested inside it.
The Post Template is a block that determines the layout of the events.
And the EK Event Query Item allows us to display our events (instead of regular posts and pages) in this block.
If you are a developer, you will be able to create your own design templates for this Event Query Loop block. But for this doc, we will focus on no code.
You can add groups, columns, rows and more underneath the EK Event Query Item. But do note that you are limited to putting them in List or Grid form.
At the very heart of the Event Query Loop block is the Event Data block. This is the most important block for you to learn about.
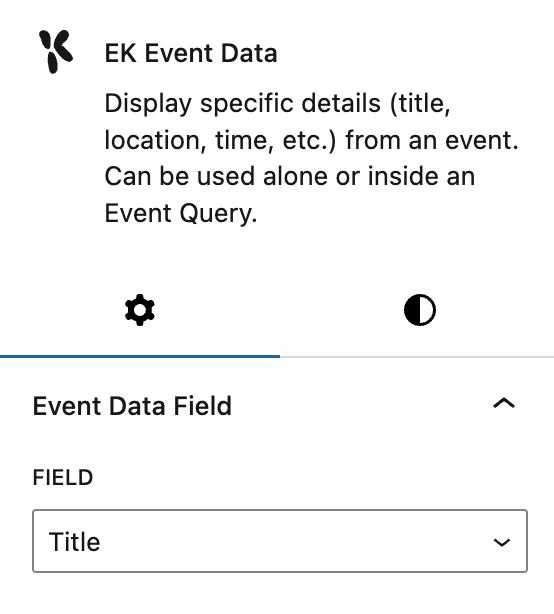
Introducing the Event Data block
This is a dynamic block that allows you to add any type of event data into the Event Query block.
We felt that having multiple blocks like Title, Time, Location can quickly get confusing. So instead, we created one block to rule them all – the Event Data block.
Need to add a Title to your Event Query? Add the Event Data block, then select Title from the dropdown.
Need to add a location? Add the Event Data block, then select Location.
When everything starts and ends with the Event Data block, you never have to wonder which block to add.
Let’s say you want to delete the event description from your event query, just click on the block, and delete it.
Then, let’s say you regret it and want to add it back again. Click on the plus sign, and add the Event Data block back. Then select the correct field from the Field dropdown.


Customising the Event Data block

You can easily customise the data from the Event Data block. Your options include text and background colour, font, text size, line height, padding and margin.
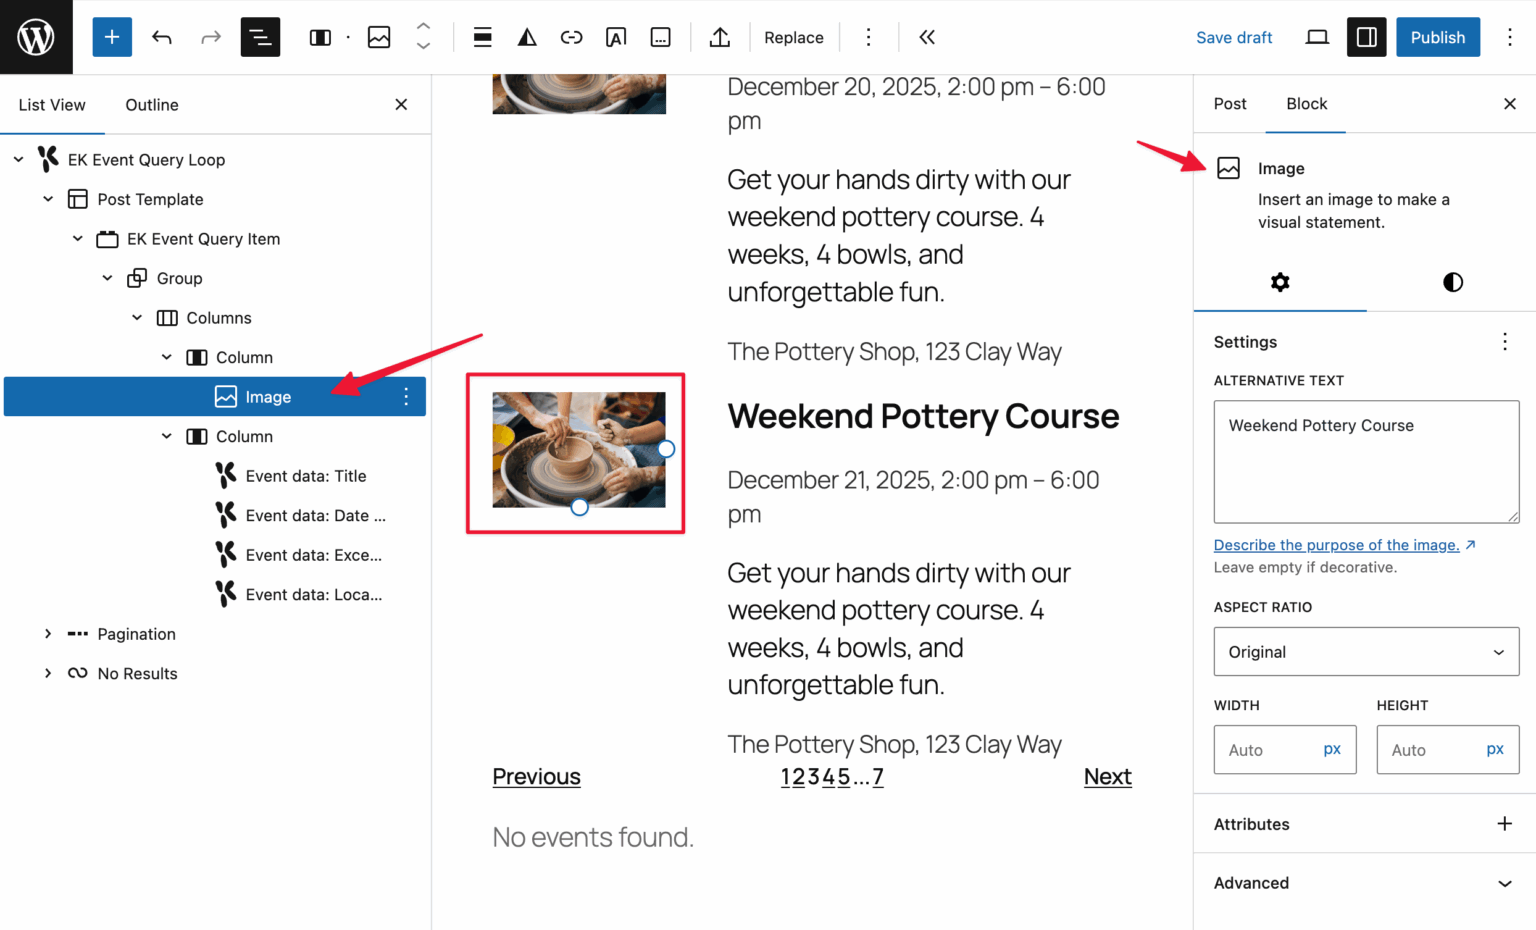
Adding images
Adding a featured image to the Event Query Loop block is the only time you will not use an Event Data block.
Instead, use the regular core Image block.
We’ve bound the image to our event featured image so that it will load accordingly.
This allows you to benefit from image settings like adding alt text, changing the width and height, and even add a border to your image.